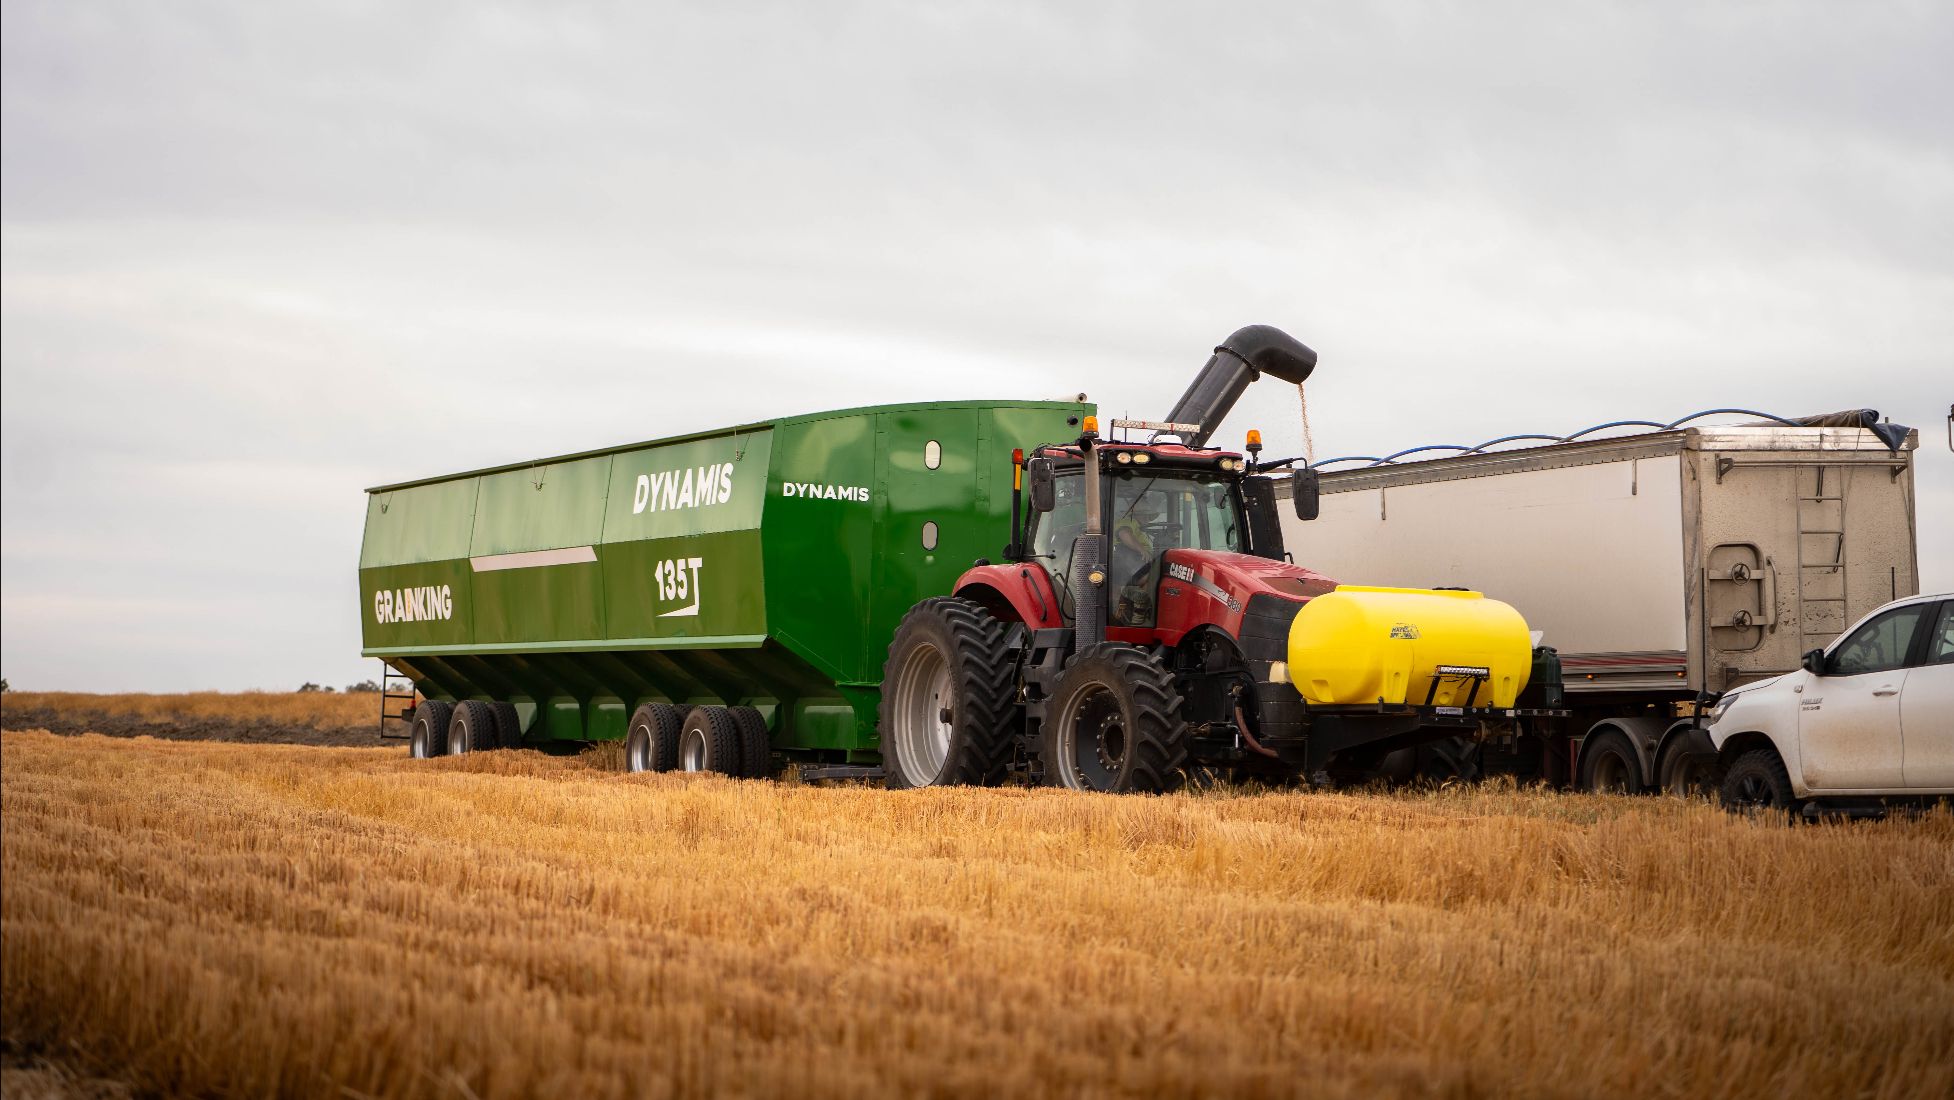
Sowing doesn’t leave much room for equipment problems.
Once the window opens, you want the seeder to be constantly moving. Finding a seized auger on day one, a damaged seal at the paddock or last season’s fertiliser caked inside the bin can turn a maintenance job you could have handled in the shed into downtime you don’t have.
A lot of those problems start months earlier. The bin finishes a long season, gets emptied in a hurry and is parked up with the intention of giving it a proper clean later. By the time sowing comes around again, that quick end-of-season job is easy to forget.
A proper pre-seeding check gets you back on track. Work through the bin before you load it and you can catch wear, corrosion, residue and calibration issues while there’s still time to deal with them.
Here’s what to check before your seed and super bin goes back to work.
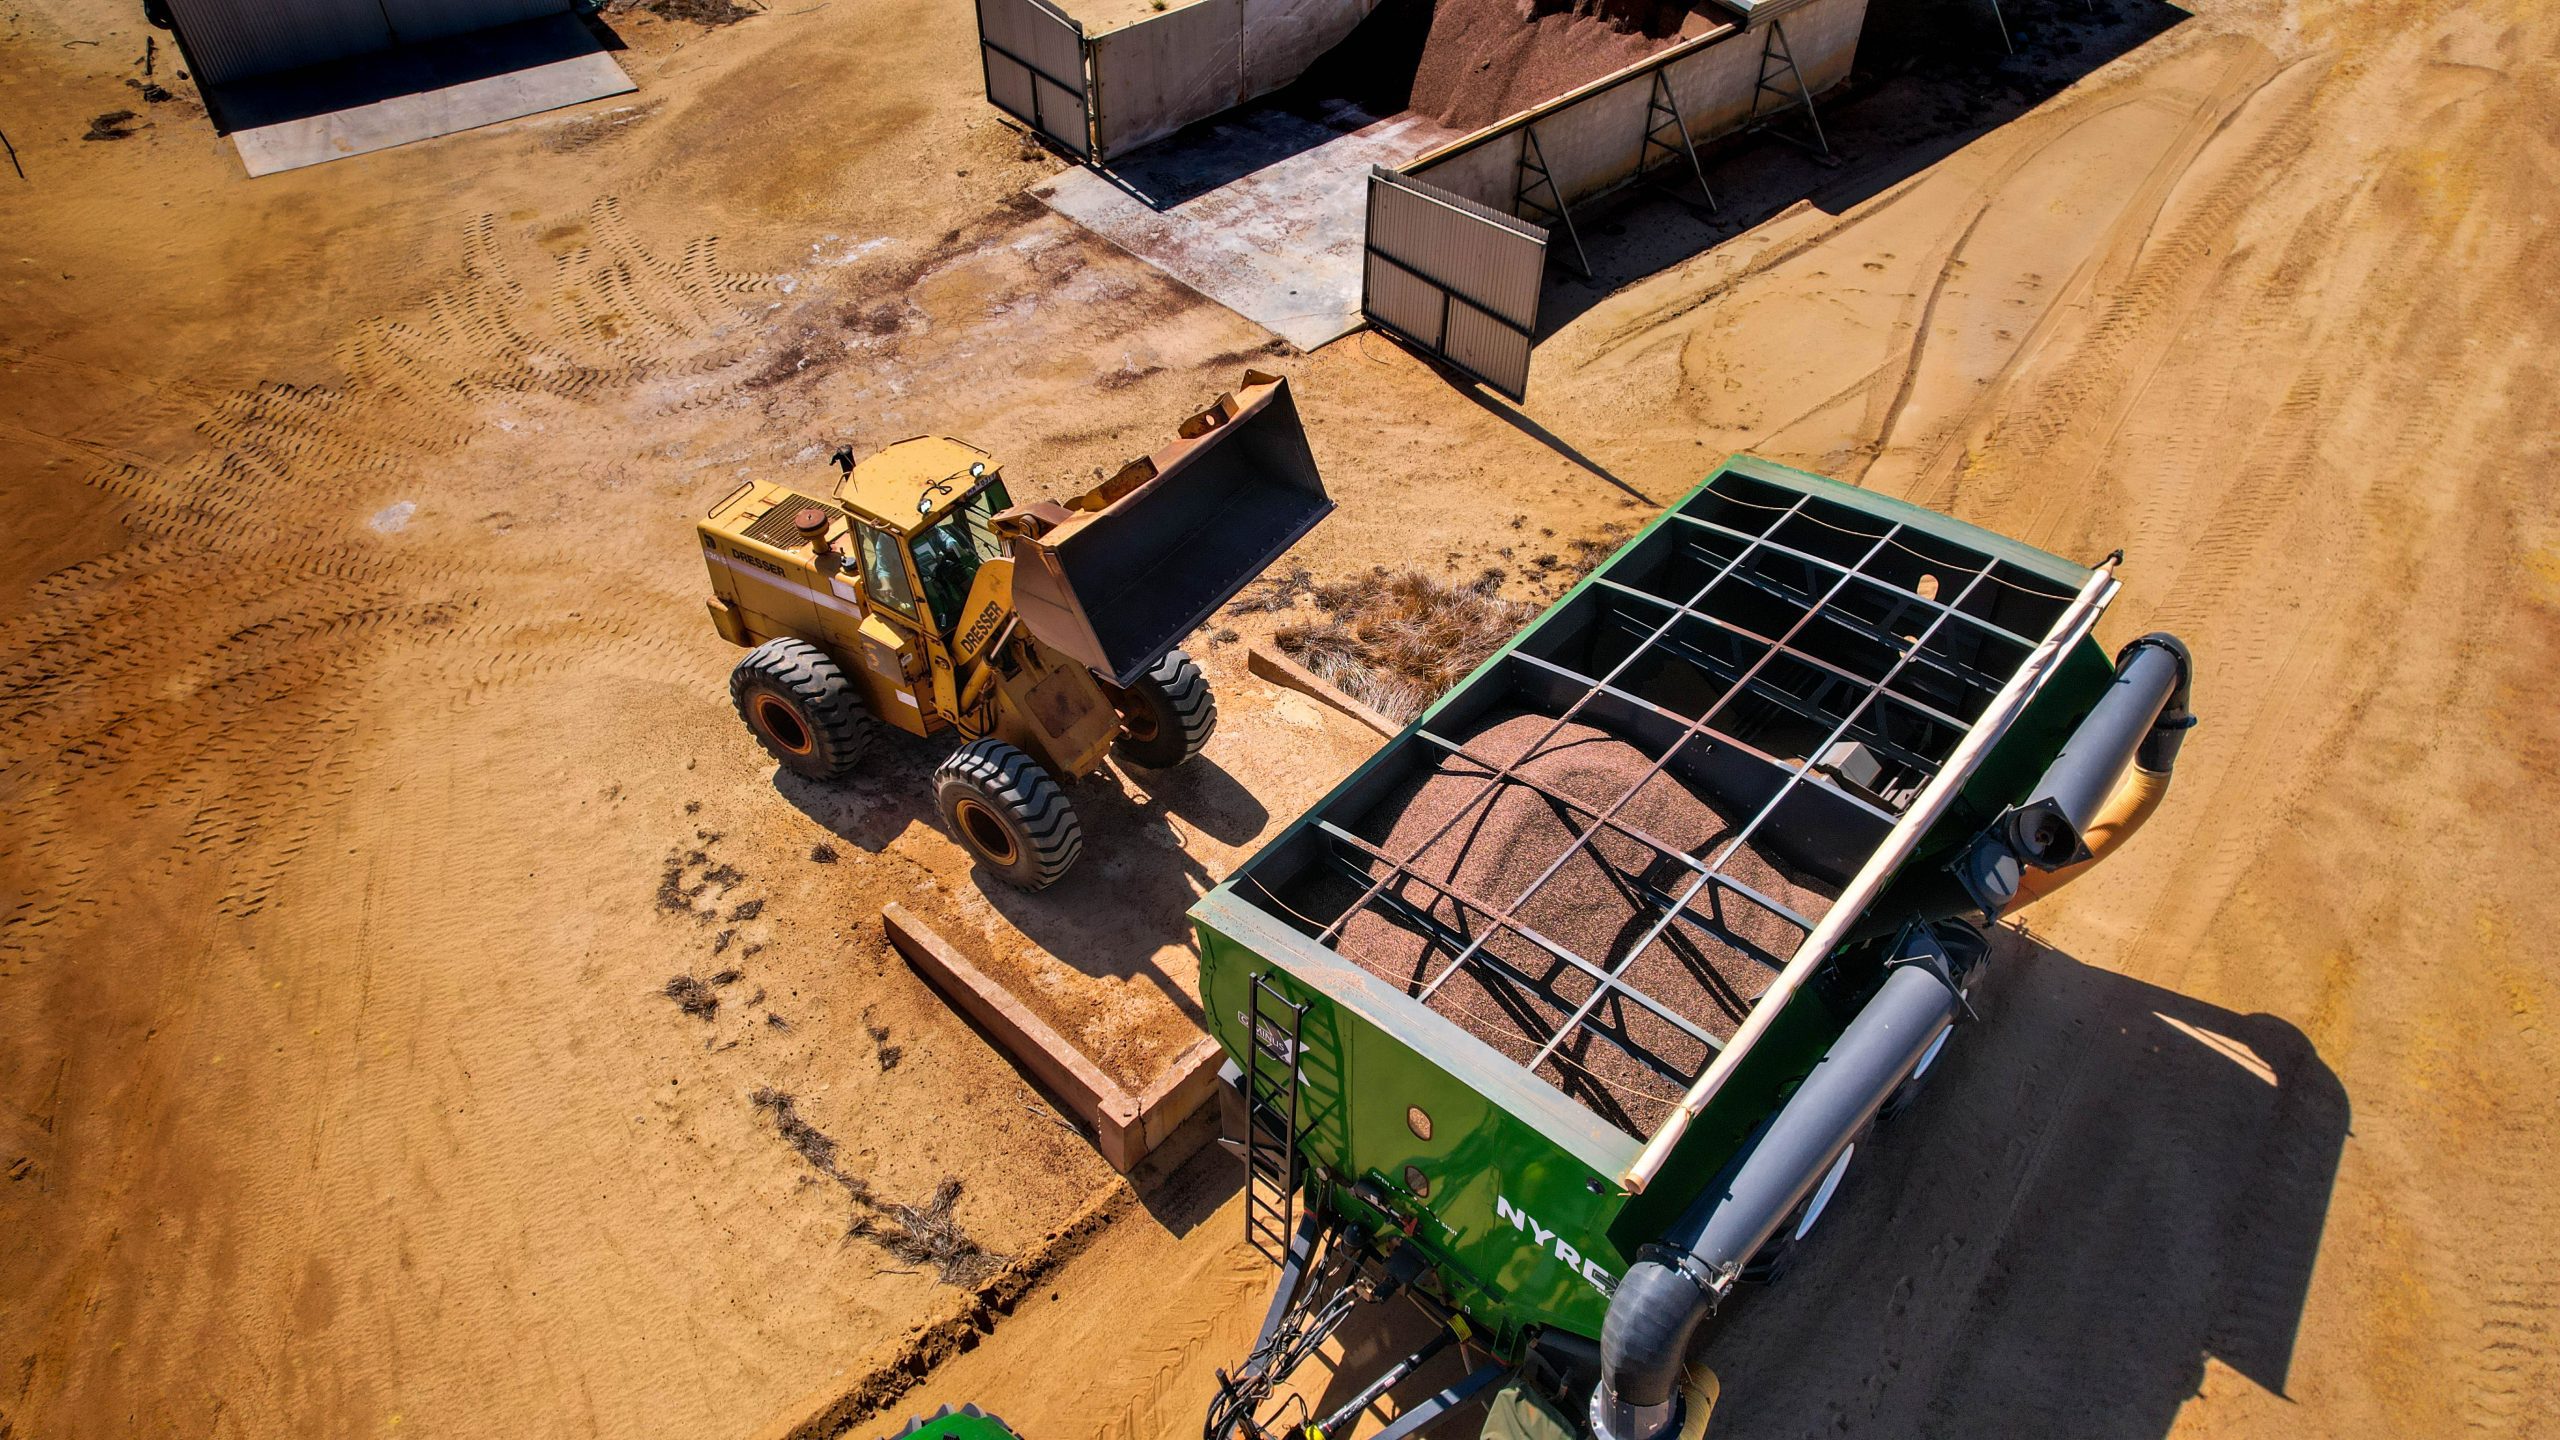
Why Pre-Seeding Bin Prep Matters
The problems you’re looking to solve shouldn’t be that complicated. They’re the small things that become expensive once sowing starts.
Fertiliser residue is one of them. Products such as urea and MAP absorb moisture, and residue left through the off-season can cake onto Auger flightings, bearings and floor panels.
Over time, that buildup can contribute to corrosion, interfere with clean discharge and find its way into the first seed loads of the new season.
Compacted fertiliser creates a more immediate problem. If the product c has hardened around the outlet or auger housing, you may discover the blockage the first time you try to unload.
Seals and gaskets deserve the same attention. A seal that made it through last season may have dried, split or worked loose while the bin was parked. Once you’re carrying seed and fertiliser again, that small failure can mean lost product or cross-contamination between compartments.
Then there’s calibration. If your metering isn’t checked before the first paddock, an error follows you from the first pass.
A couple of hours in the shed is a much easier place to find these problems than halfway through a sowing day.
Before You Start: What You Need
Get everything together before opening the bin so you can work through the inspection in one go.
You’ll want compressed air to clear residue from housings and around seals, a stiff-bristle brush and scraper for compacted fertiliser, and a good inspection torch for corners and auger areas.
Keep your basic hand tools nearby for tightening and inspection, along with a grease gun loaded with the correct grease for your model.
You’ll also need a small amount of clean seed for the final test run and calibration check.
Most importantly, have the operator manual for your specific bin on hand. Use its maintenance schedule, lubrication requirements, settings and specifications rather than relying on last season’s memory.
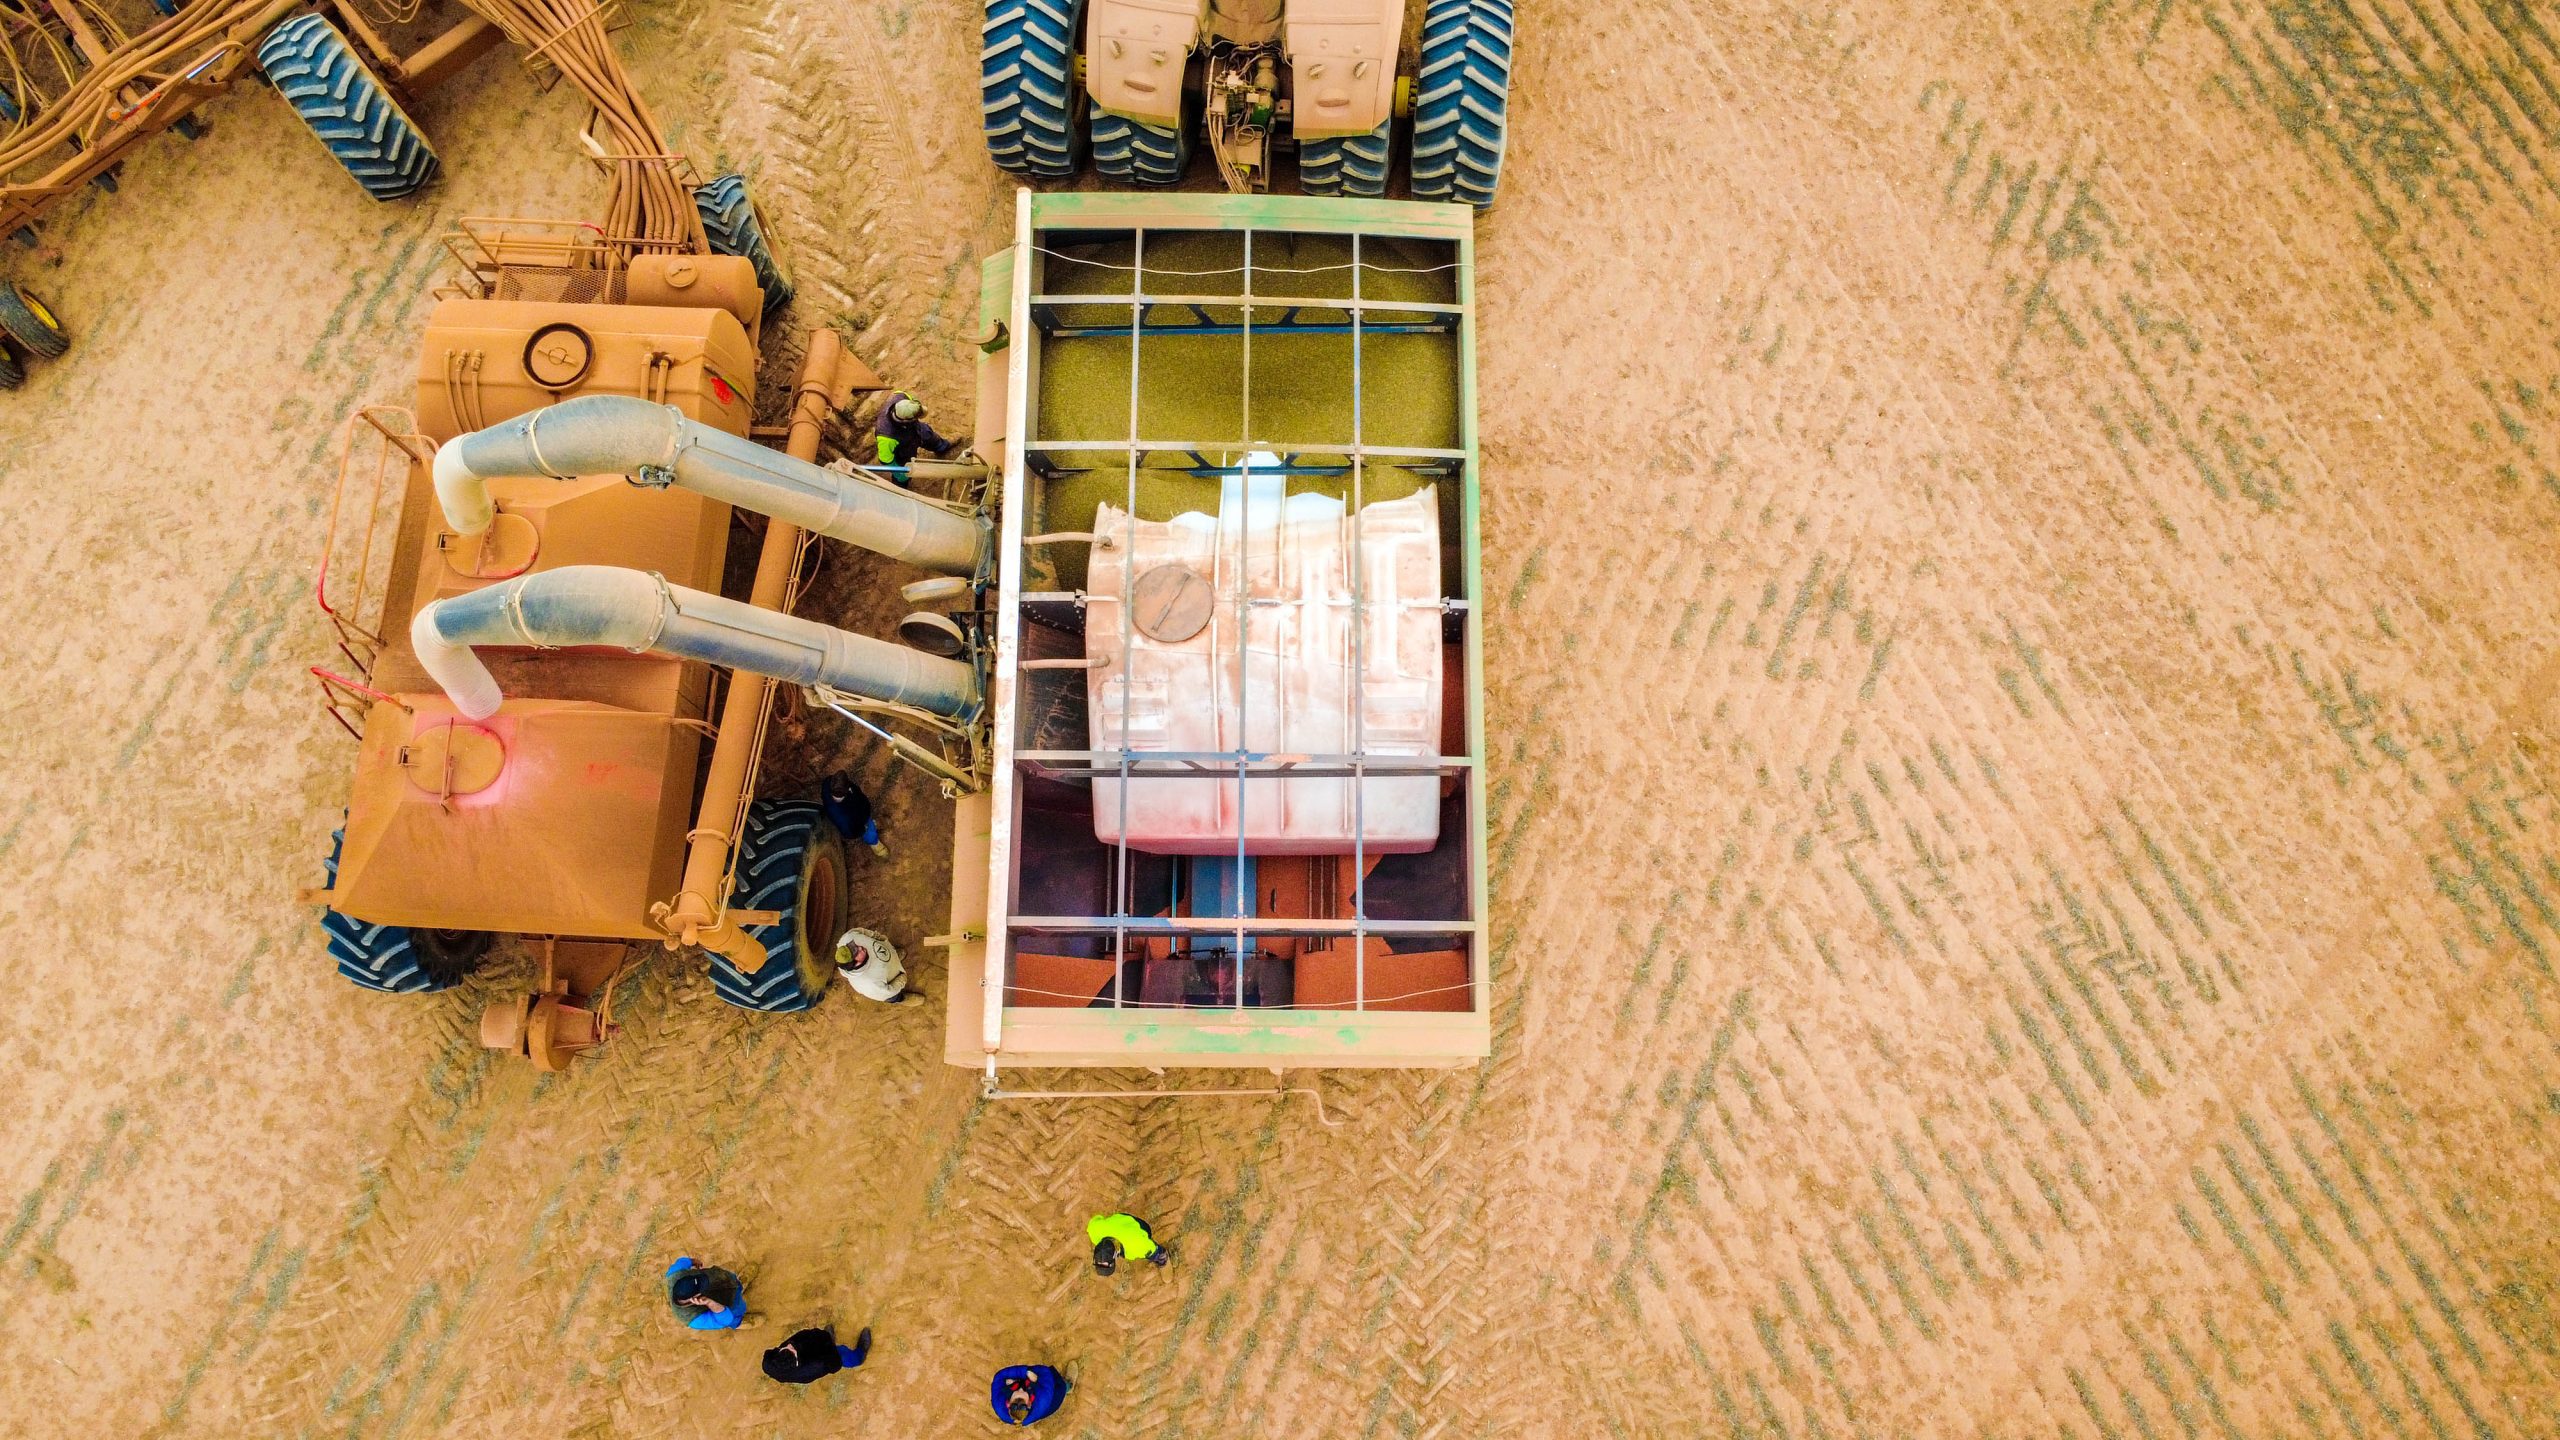
Pre-Seeding Checklist: Step by Step
Work through the bin in order. You’re checking the structure first, then getting it clean enough to properly inspect the working parts before testing everything under operation.
- Walk around the complete bin.
Start outside before opening anything.
Check the body for dents or damage that may have happened during storage or transport. Look over the tyres and pressures on wheeled bins, then inspect the hitch, coupling and hydraulic lines.
Pay attention to anything that looks different from when the bin was parked. A hydraulic hose that’s starting to crack or a tyre that’s lost pressure is much easier to sort now than once the bin is loaded.
- Open the bin and check for leftover product.
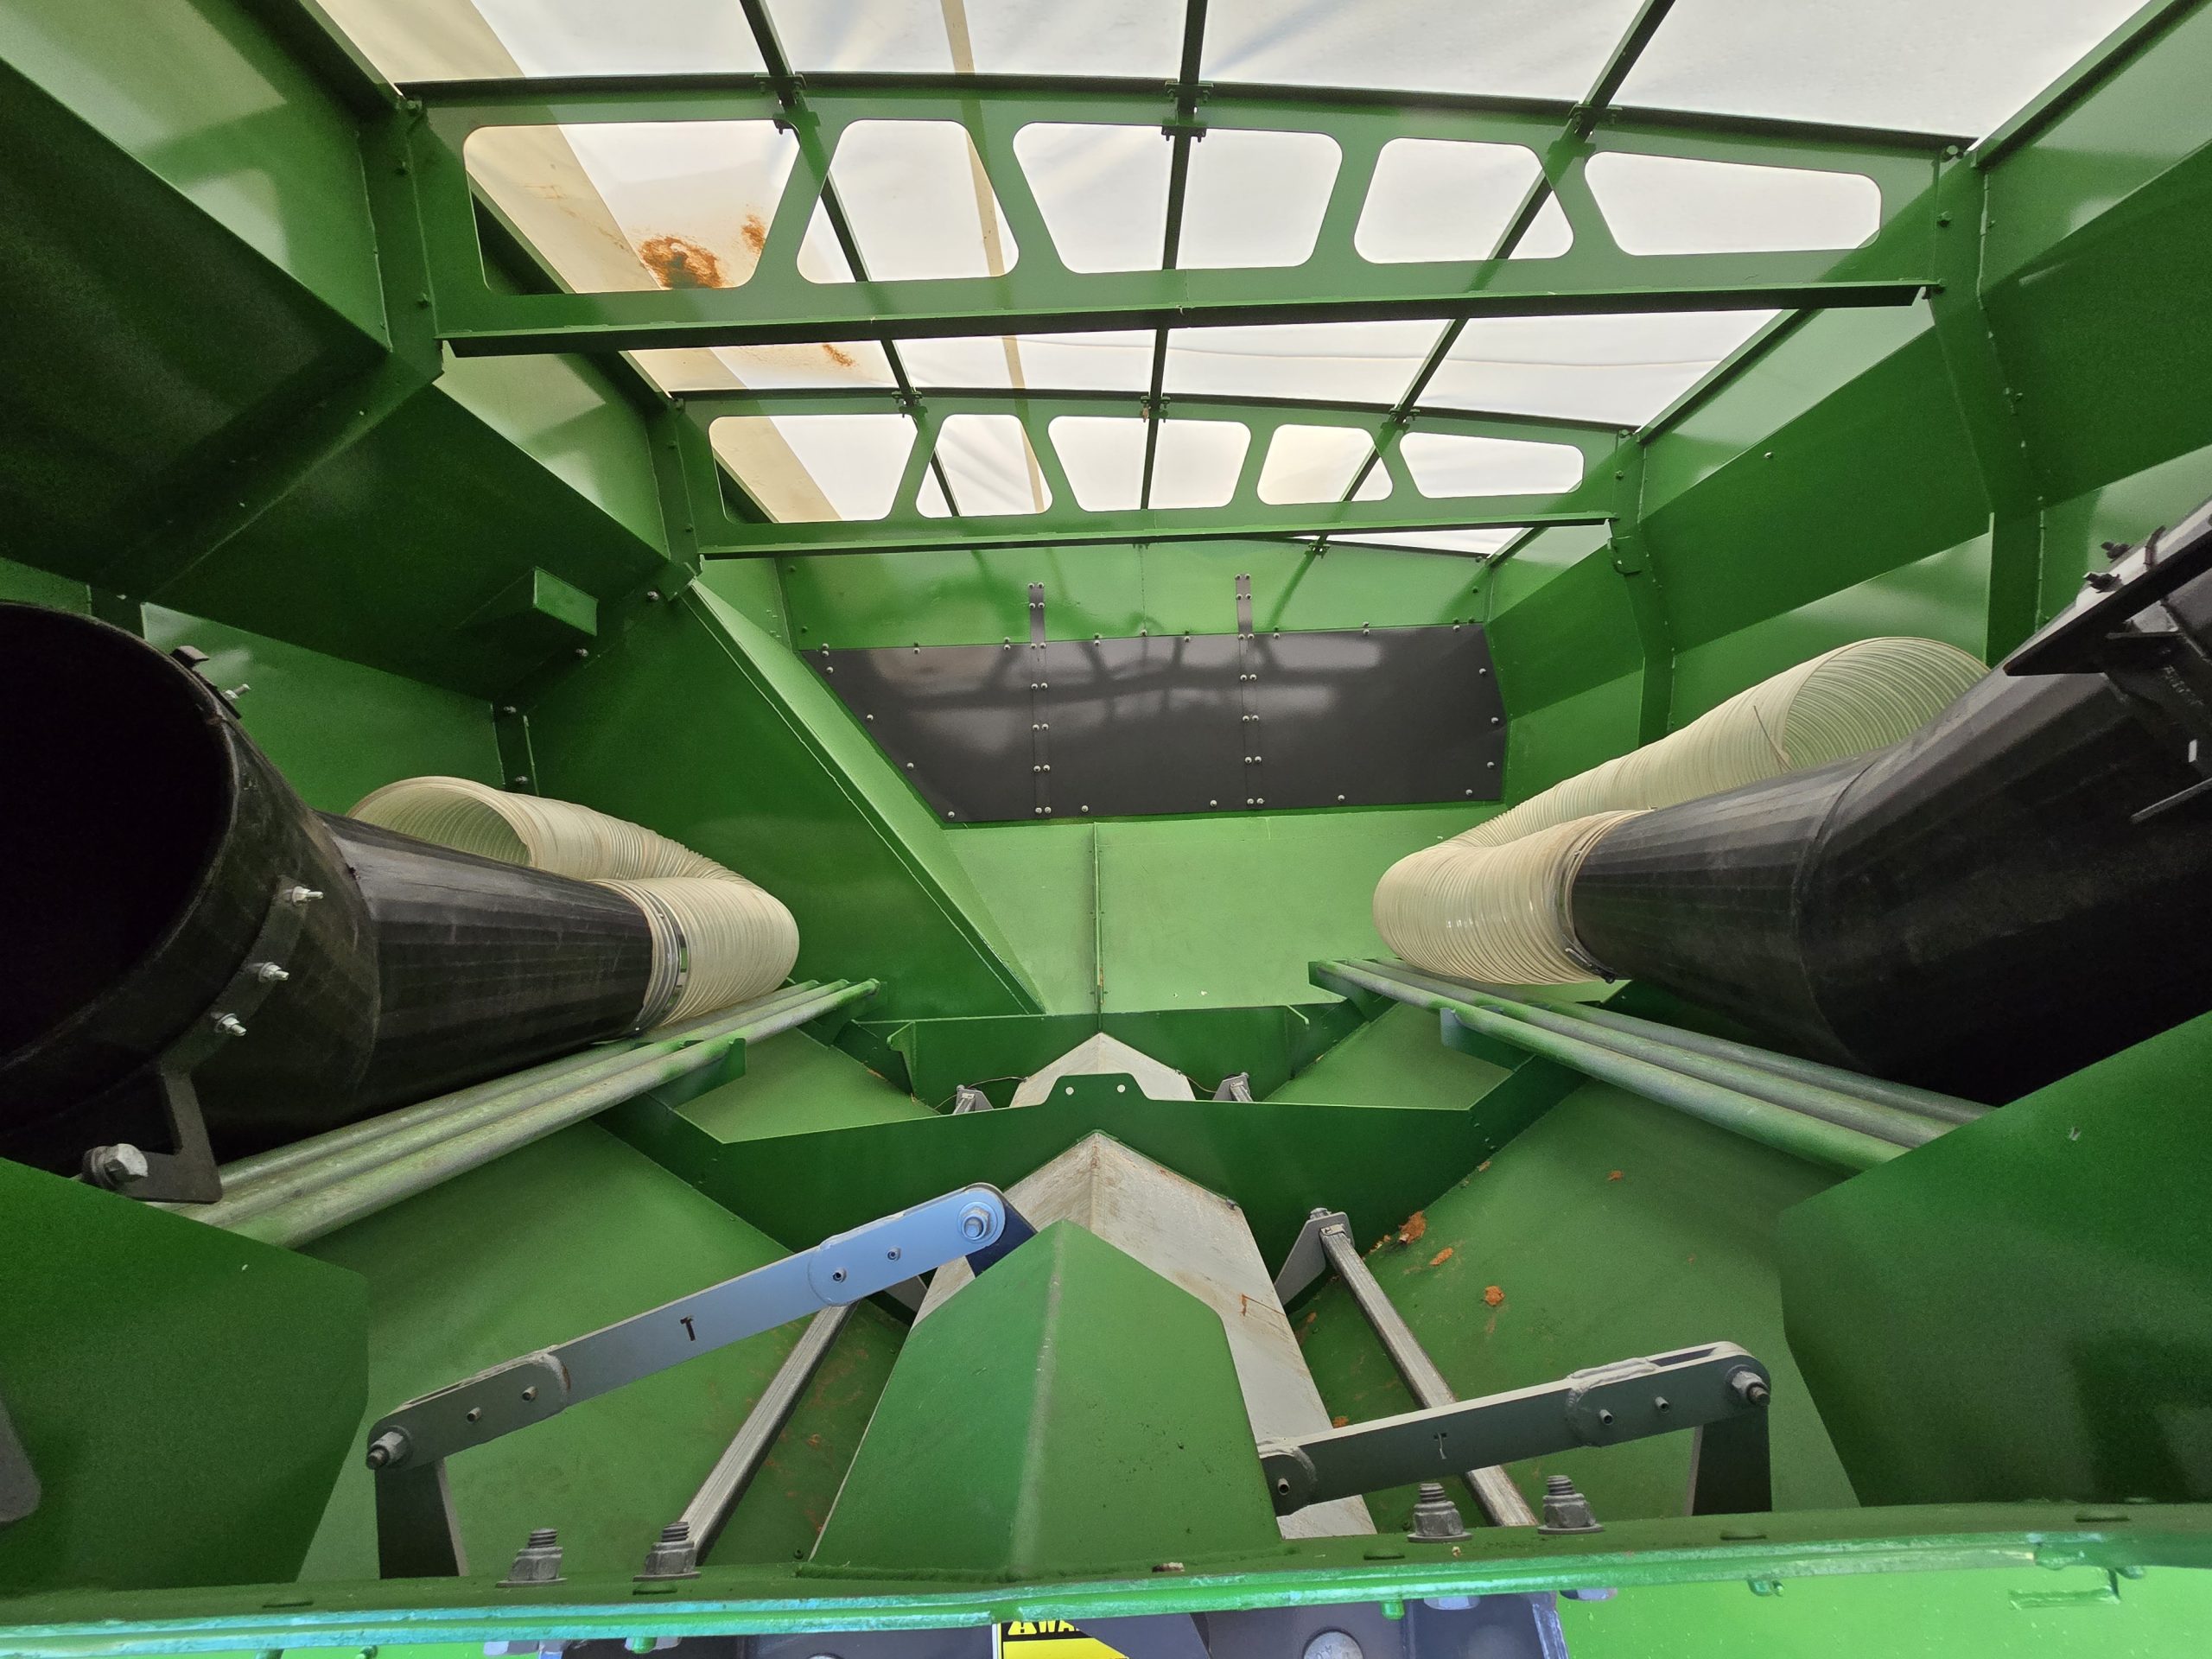
Inspect every compartment, floor area, outlet and cleanout point.
Don’t assume an empty bin is a clean bin. Seed and fertiliser can remain in corners, floor troughs and auger housings after normal unloading.
If the bin carried super last season, look closely for hardened or caked residue. Use a stiff brush or scraper where necessary, then compressed air to clear loose material from areas where it can collect.
Avoid introducing unnecessary moisture into the bin during the cleanout. The aim is to start the season with the body dry and clear of old product.
- Inspect the augers and discharge system.
With the bin empty and clean, check the auger flighting, housings and discharge points.
Look for corrosion, visible wear, damaged flight edges and old product packed into transitions. Turn or operate components as directed by the operator manual and make sure nothing is binding.
Fertiliser is particularly hard on metal, so give any components that regularly handle super extra attention.
You want the first loaded run to confirm the system is ready, rather than reveal a problem.
- Check hydraulic hoses, fittings and connections.
Run your eyes and hands over the hydraulic system before pressurising it.
Look for cracking, rubbing, damaged fittings and signs of previous leaks. Make sure connections are clean and secure.
Once connected to the tractor, operate the hydraulic functions and watch the system under pressure. A slow seep in the shed is a warning. In the paddock, it becomes downtime.
- Inspect compartment seals, bearings and gaskets.
On a dual-product bin, this check protects more than the product you’re carrying.
Inspect the seals around compartments, gates, hatches and discharge points. Look for cracking, flattening, tears or sections that aren’t seating properly.
The seed and fertiliser compartments need to stay separate throughout the job. If a seal looks questionable while the bin is empty, deal with it before loading.
Check over all bearings and ensure they are greased, remove ALL trace of fertiliser from around bearings. Fert residue left around bearings will cause them to fail quickly.
- Check the tarp and weather sealing.
Run the tarp through its full travel and inspect the material, rollers, tracks and sealing points.
Look for tears, worn sections and areas that no longer close cleanly. Clear away any residue around the tarp mechanism that could prevent it from seating properly.
The tarp has spent months exposed to weather and temperature changes. Make sure it’s ready to keep moisture out before there’s product underneath it.
- Check tyres, hitch and running gear.
Go back over the parts that will carry the bin once it’s loaded.
Confirm tyre condition and pressure, inspect the hitch and coupling, and look for movement or wear where there shouldn’t be any.
A seed and super bin gets considerably harder to repair once it’s full, so anything in the running gear that looks doubtful should be sorted while you’re still in the yard.
- Grease every lubrication point.
Work through the lubrication schedule in your operator manual rather than stopping at the obvious grease nipples.
Give particular attention to auger shaft bearings, the hitch pivot and any bearings associated with fold-out mechanisms.
A dry bearing can sit quietly all summer and make itself known as soon as the machine goes back under load. Pre-season greasing is cheap insurance against finding that out during sowing.
- Run a calibration check.
Before the product goes into the paddock, check the calibration against a known weight.
Settings can drift between seasons, particularly if the system wasn’t zeroed correctly after its last use. Starting with a confirmed calibration gives you confidence that your application rate is where you expect it to be from the first pass.
- Give the bin a final working test.
Once the inspections, cleaning and lubrication are complete, close the hatches and run the auger at operating speed with a small quantity of clean seed.
Listen for unusual noises. Watch for vibration. Check that the discharge is consistent and that every function you’ve serviced behaves properly under operation.
This is the last chance to find something in the yard before the sowing clock starts.
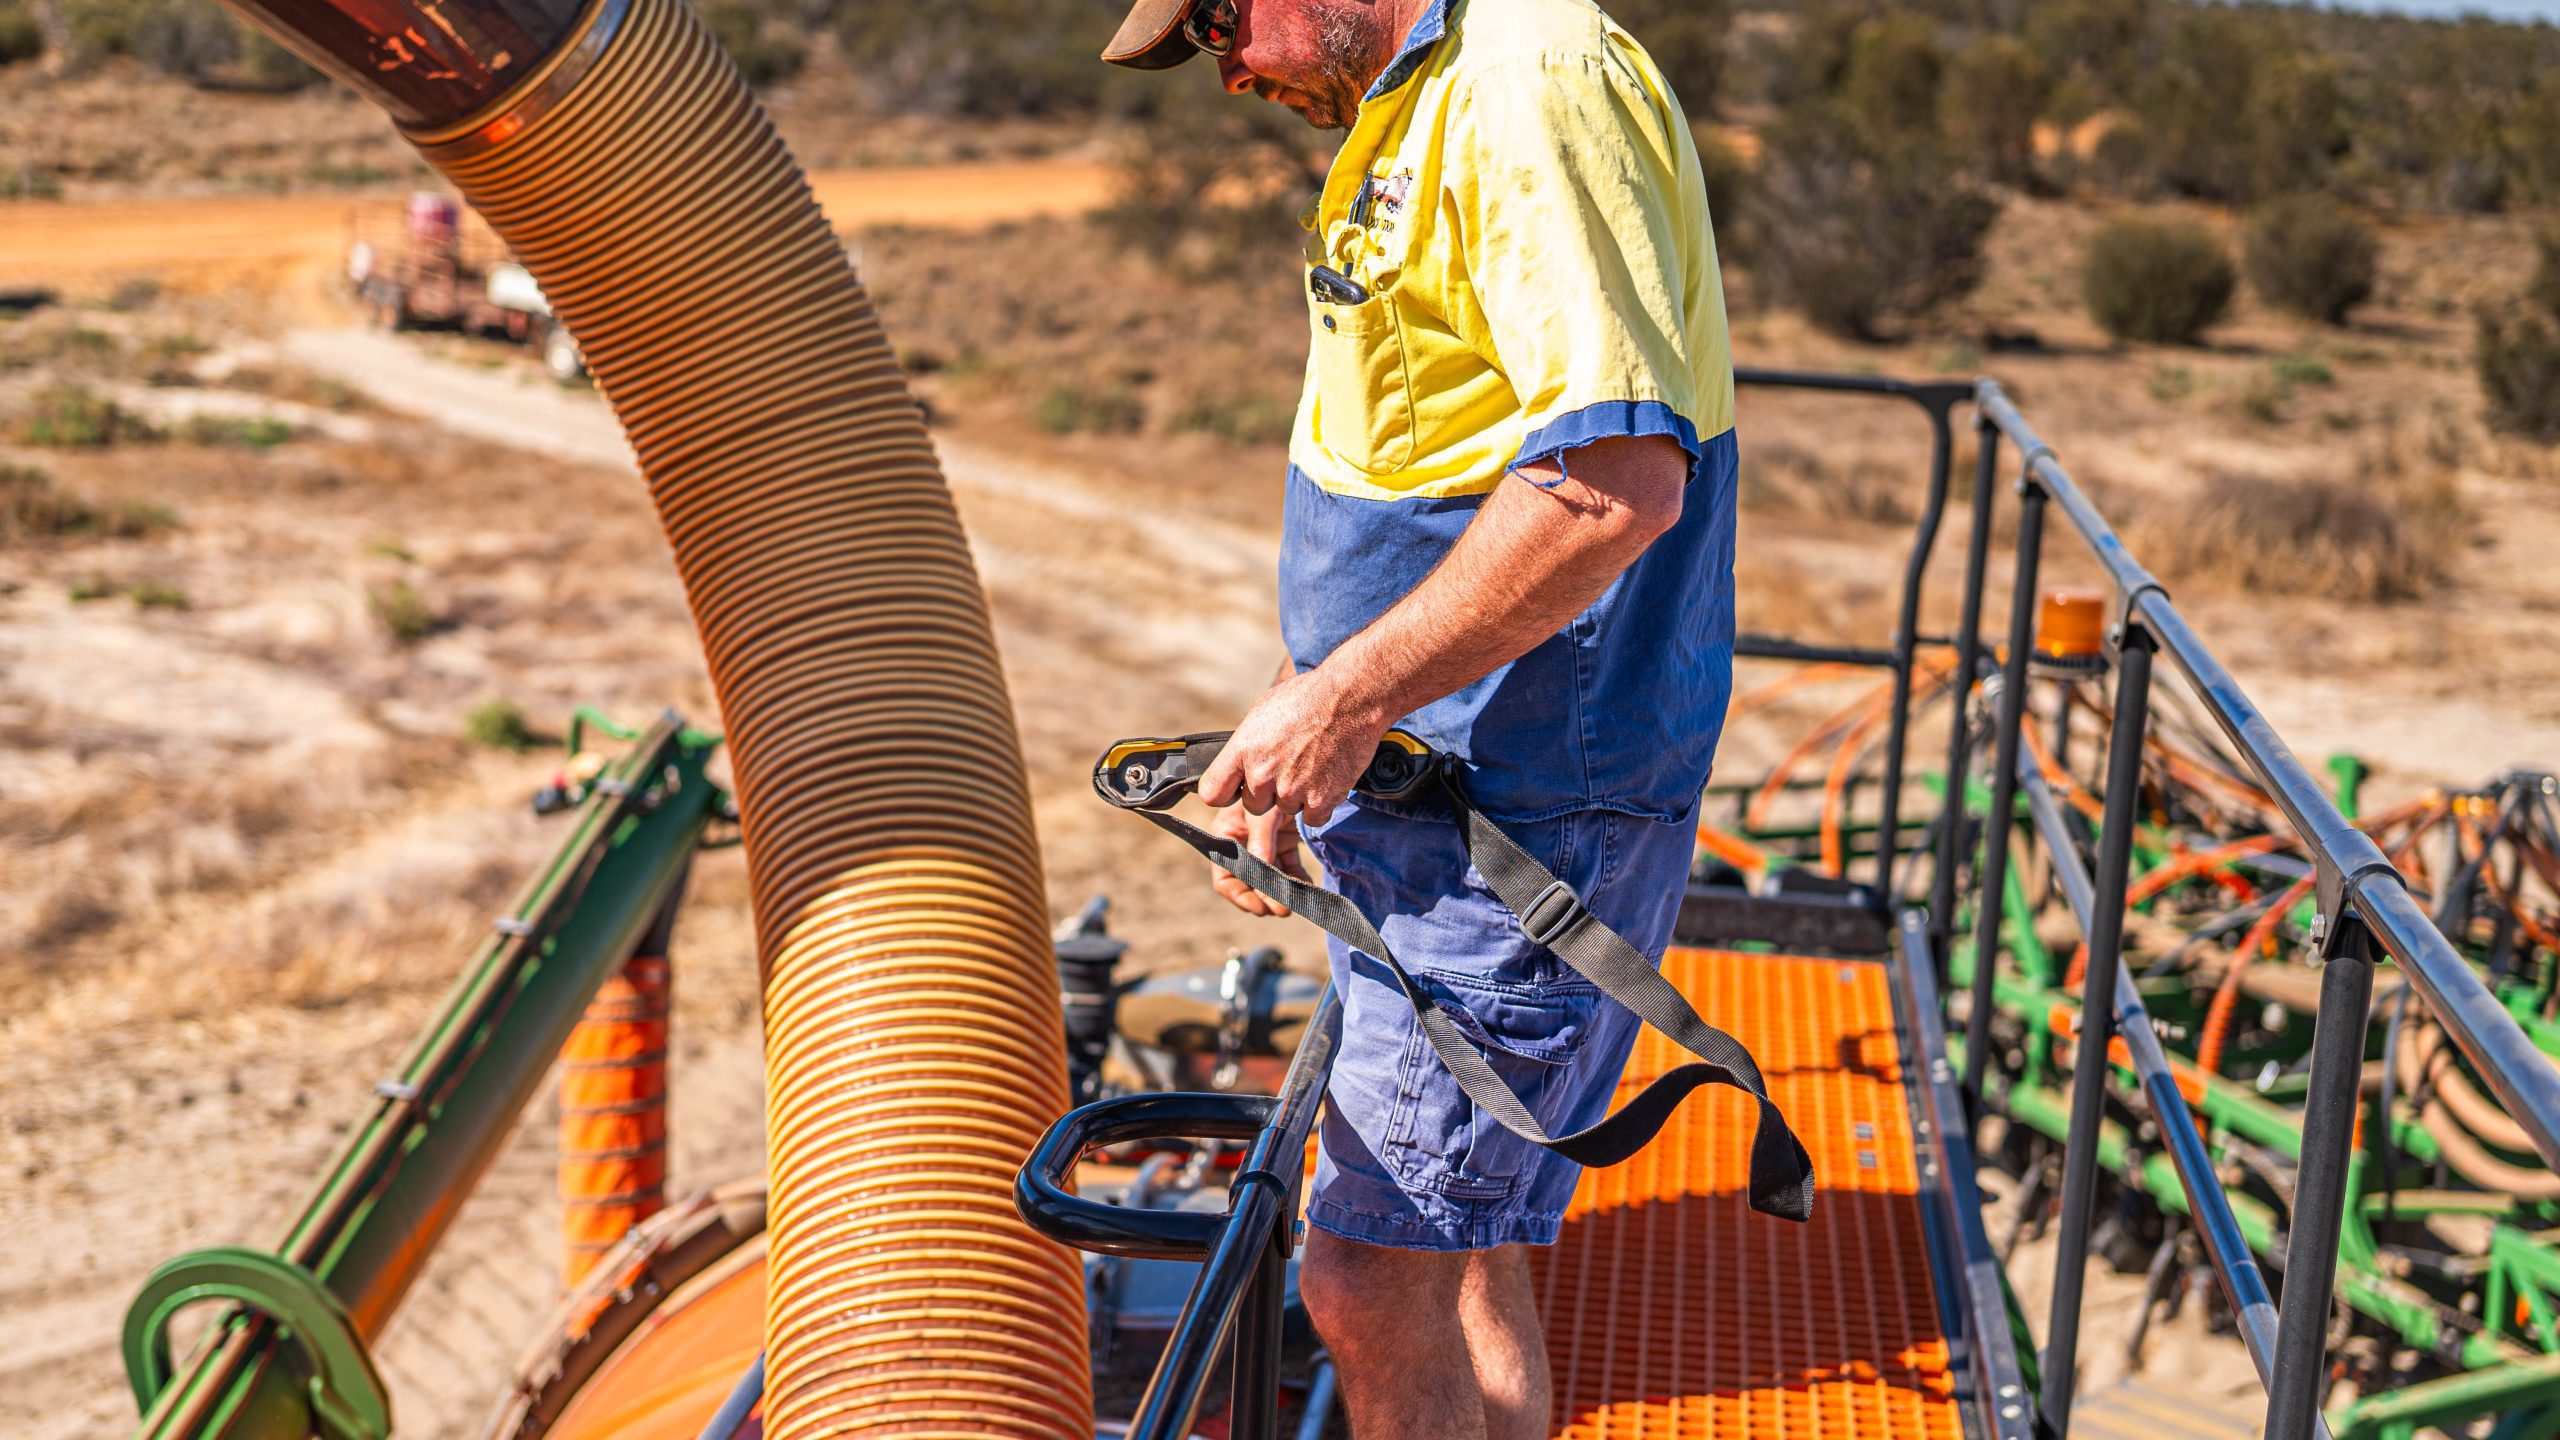
Seed and Fertiliser Separation: The Contamination Risk
A seed and super bin has one maintenance risk that deserves particular attention: keeping fertiliser out of the seed side.
A dual-product bin is built to carry both at once, but the compartments still depend on intact seals and a proper cleanout to keep the products separated.
Concentrated fertiliser residue, particularly DAP or MAP, that comes into direct contact with seed can suppress germination or damage the seed. The frustrating part is that you may not see the consequence while you’re filling the bin. It can show up later as a poor or patchy establishment.
That’s why cleaning the main compartment isn’t enough.
Pay close attention to the floor trough, auger housing, discharge points and the seal between compartments. These are the places where a relatively small amount of residue can stay hidden after the bin looks empty.
If the bin has carried treated seed, check for treatment residue in the auger housing as well.
Start clean, confirm the seals are sound and keep the two sides doing the jobs they were built to do.
After Sowing: Storing the Bin Until Next Season
Next year’s pre-seeding maintenance starts when this year’s sowing finishes.
Empty the bin completely before it goes into storage. Don’t leave a small amount of seed or fertiliser sitting in the bottom because it doesn’t seem worth cleaning out.
Clear the auger housings, floor areas and discharge points while you still know exactly what the bin has carried.
During dry storage, leave inspection hatches and cleanout doors cracked open so air can move through the body rather than allowing condensation to build. If the bin is stored outside, protect the hydraulic fittings from the weather.
And if you’ve noticed something during the season that needs attention, tag it before the bin is parked.
A written note on a worn seal, bearing or hydraulic fitting is a lot more useful than trying to remember the problem months later when the next sowing window is already approaching.
Common Questions About Seed and Super Bin Maintenance
How often should you service a seed and super bin?
Give the bin a complete pre-seeding inspection once a year before sowing starts.
During the season, inspect the tarp seals and auger discharge after significant rain or whenever something changes in the way the bin is operating. Once sowing finishes, complete a thorough cleanout before storage.
Can you use the same bin for seed and fertiliser?
Yes, provided the bin is designed for dual-product use with separate compartments and the separation between those products is maintained.
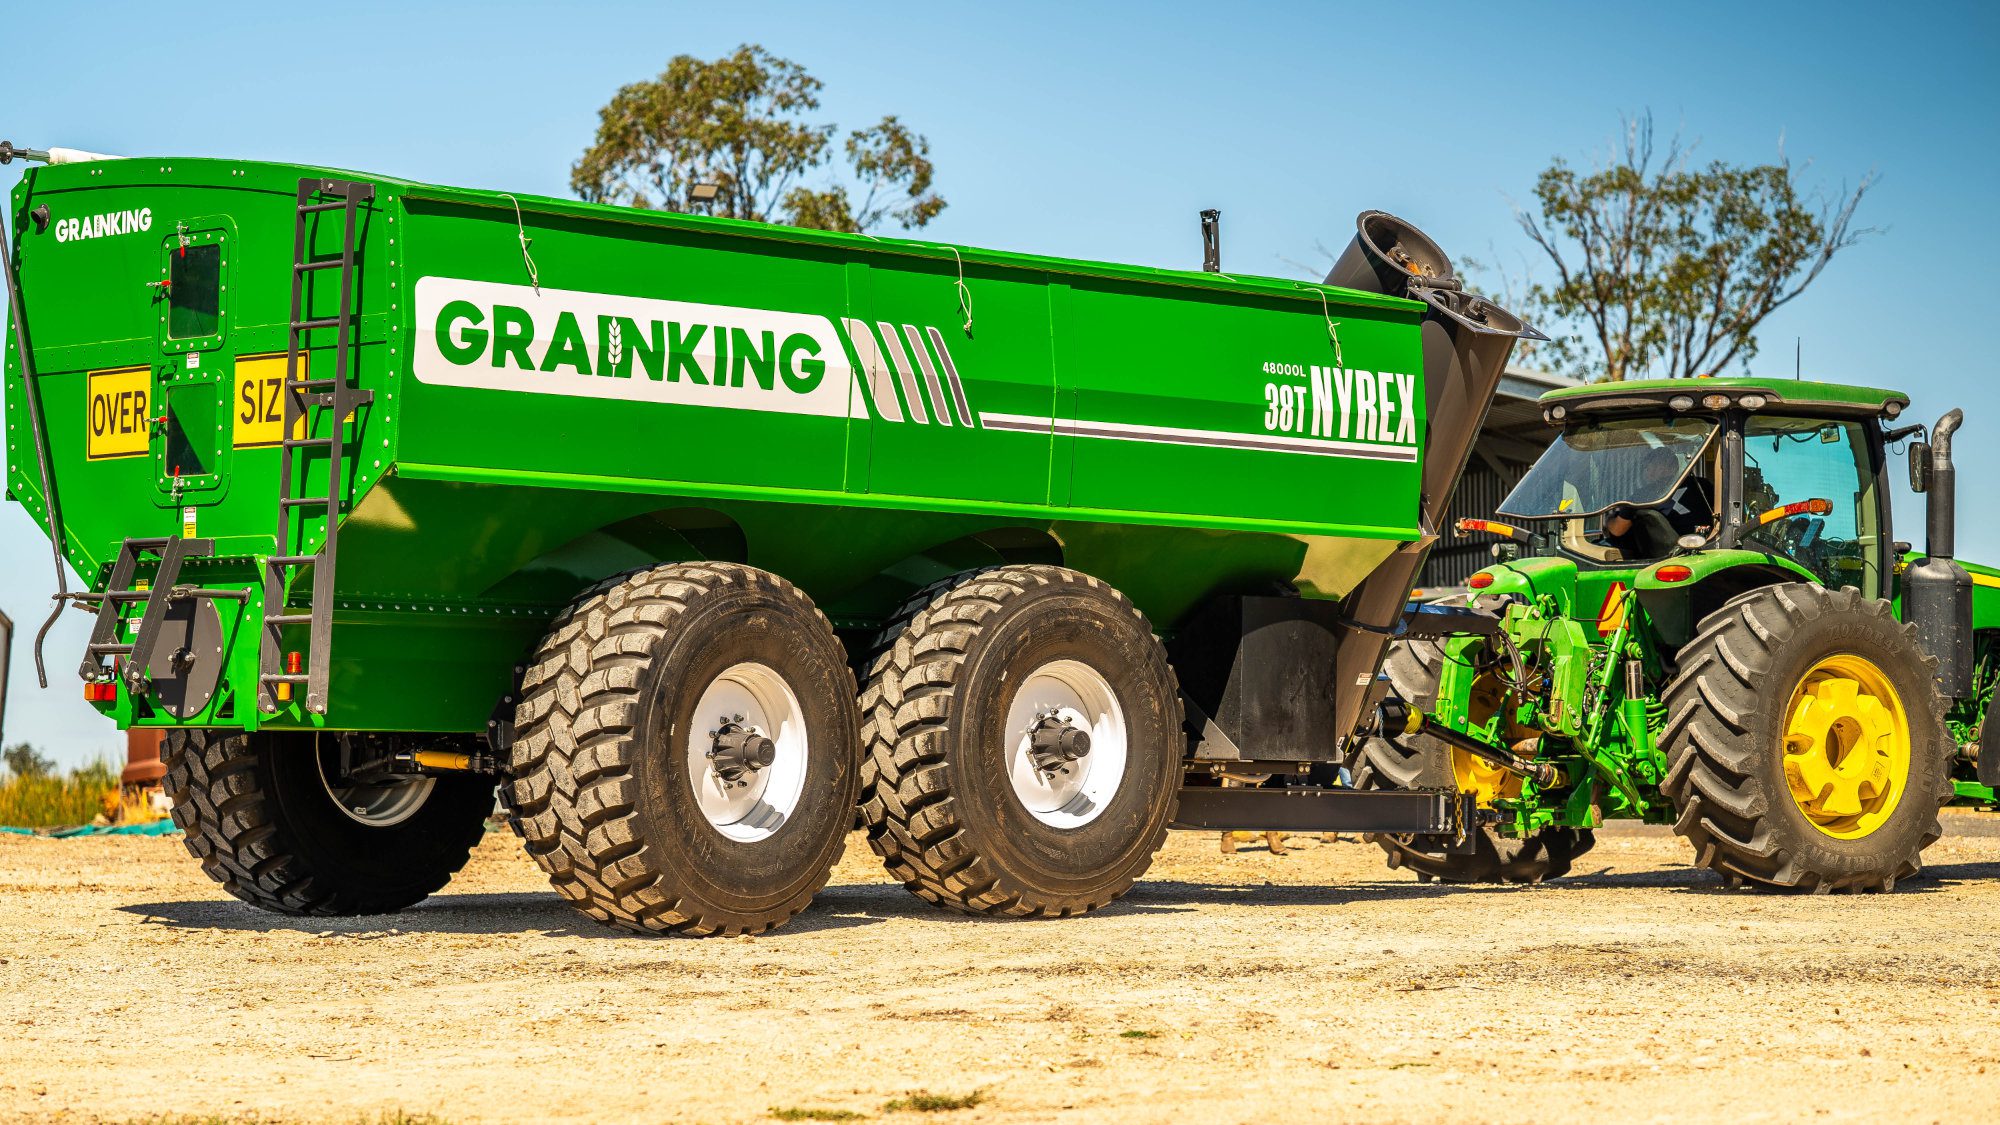
GrainKing Geminus bins are built for carrying seed and fertiliser in separate compartments. Before sowing, make sure compartment seals are intact and remove residue thoroughly when changing products.
What happens if you leave super in the bin over summer?
Superphosphate can take up moisture from the air and cake onto floor panels and auger flights.
Left there long enough, that residue can contribute to corrosion and create problems with the auger when the bin returns to service. Emptying and cleaning the bin properly before storage gives you a much better starting point next season.
Why should I calibrate the bin before sowing?
Because you want your application rate confirmed before the first paddock, rather than discovering a discrepancy after the product has already gone out.
Run the calibration check against a known weight before sowing and follow the settings and procedure for your specific equipment.
Does GrainKing provide maintenance support for Geminus bins?
Yes. GrainKing provides operator manuals and support documentation for Geminus maintenance. Use the documentation for your specific model when checking lubrication schedules, settings and maintenance requirements.
Talk to the GrainKing Team
The best time to find a problem with your seed and super bin is while it’s still empty in the shed.
A proper cleanout, inspection and calibration before sowing gives you a bin you can send to the paddock with confidence, so when the window opens, you’re ready to use it.
If something doesn’t look right during your pre-seeding check, talk to the GrainKing team before the bin goes back to work.