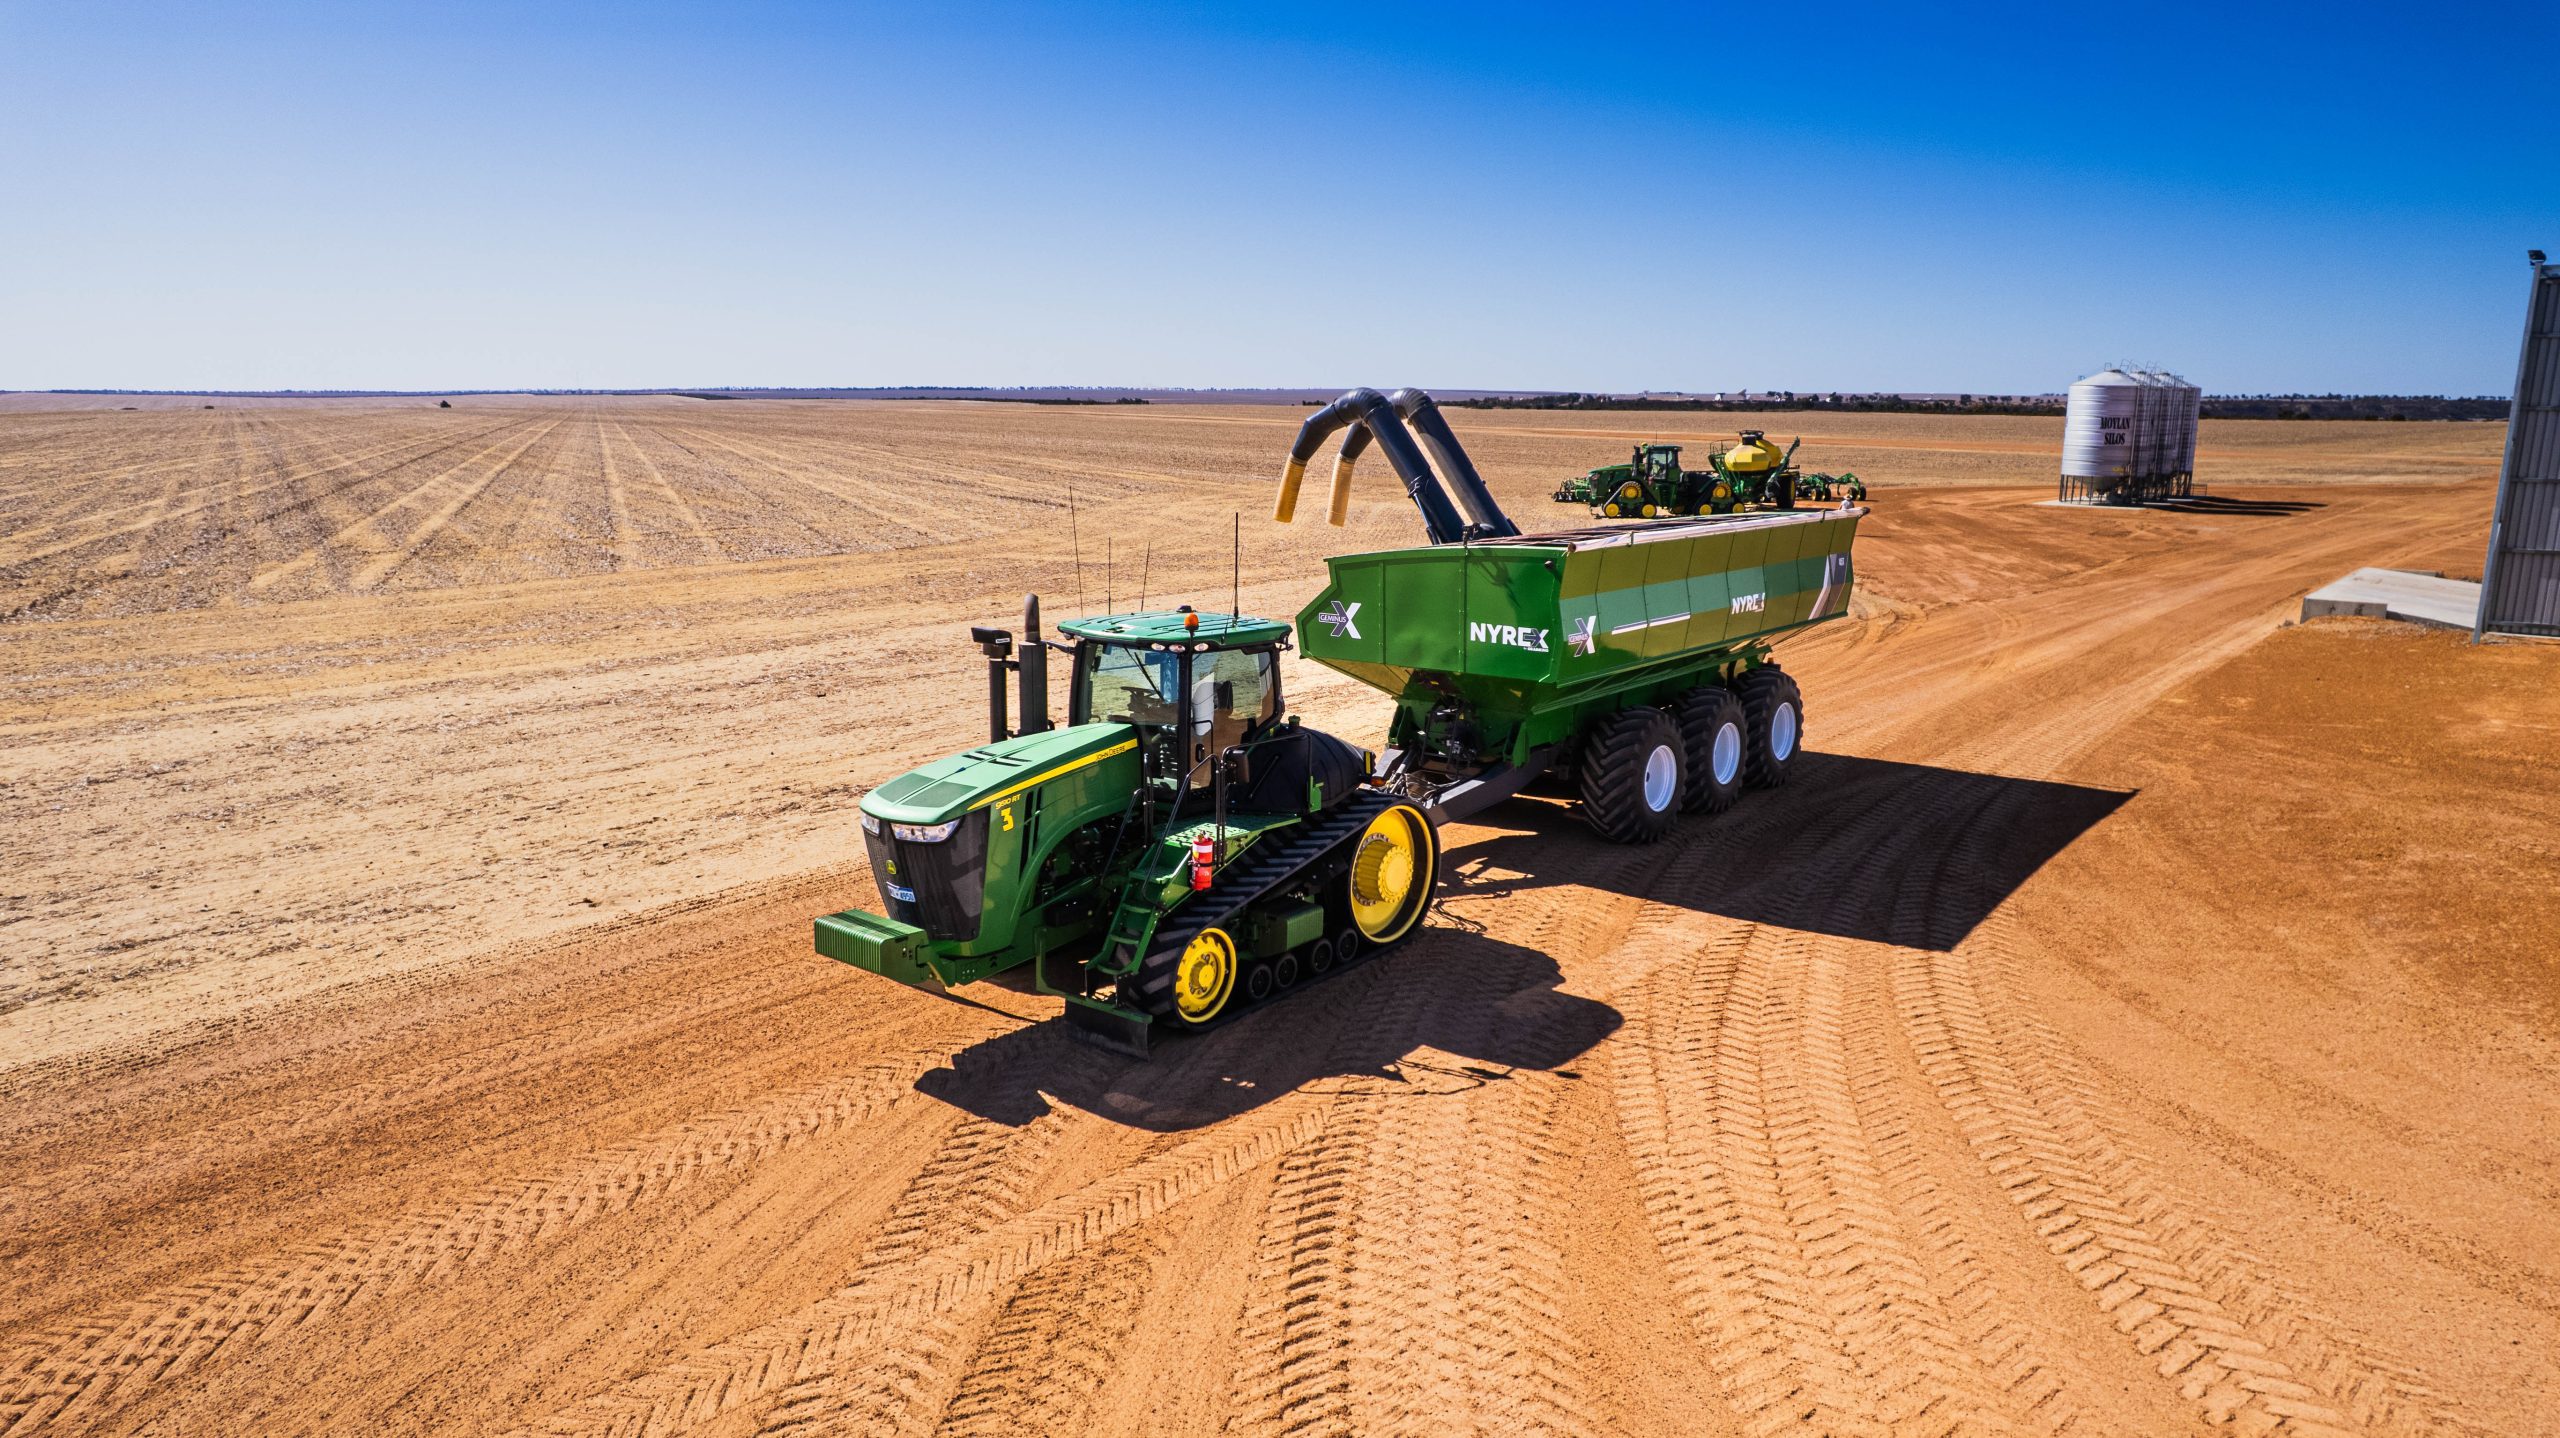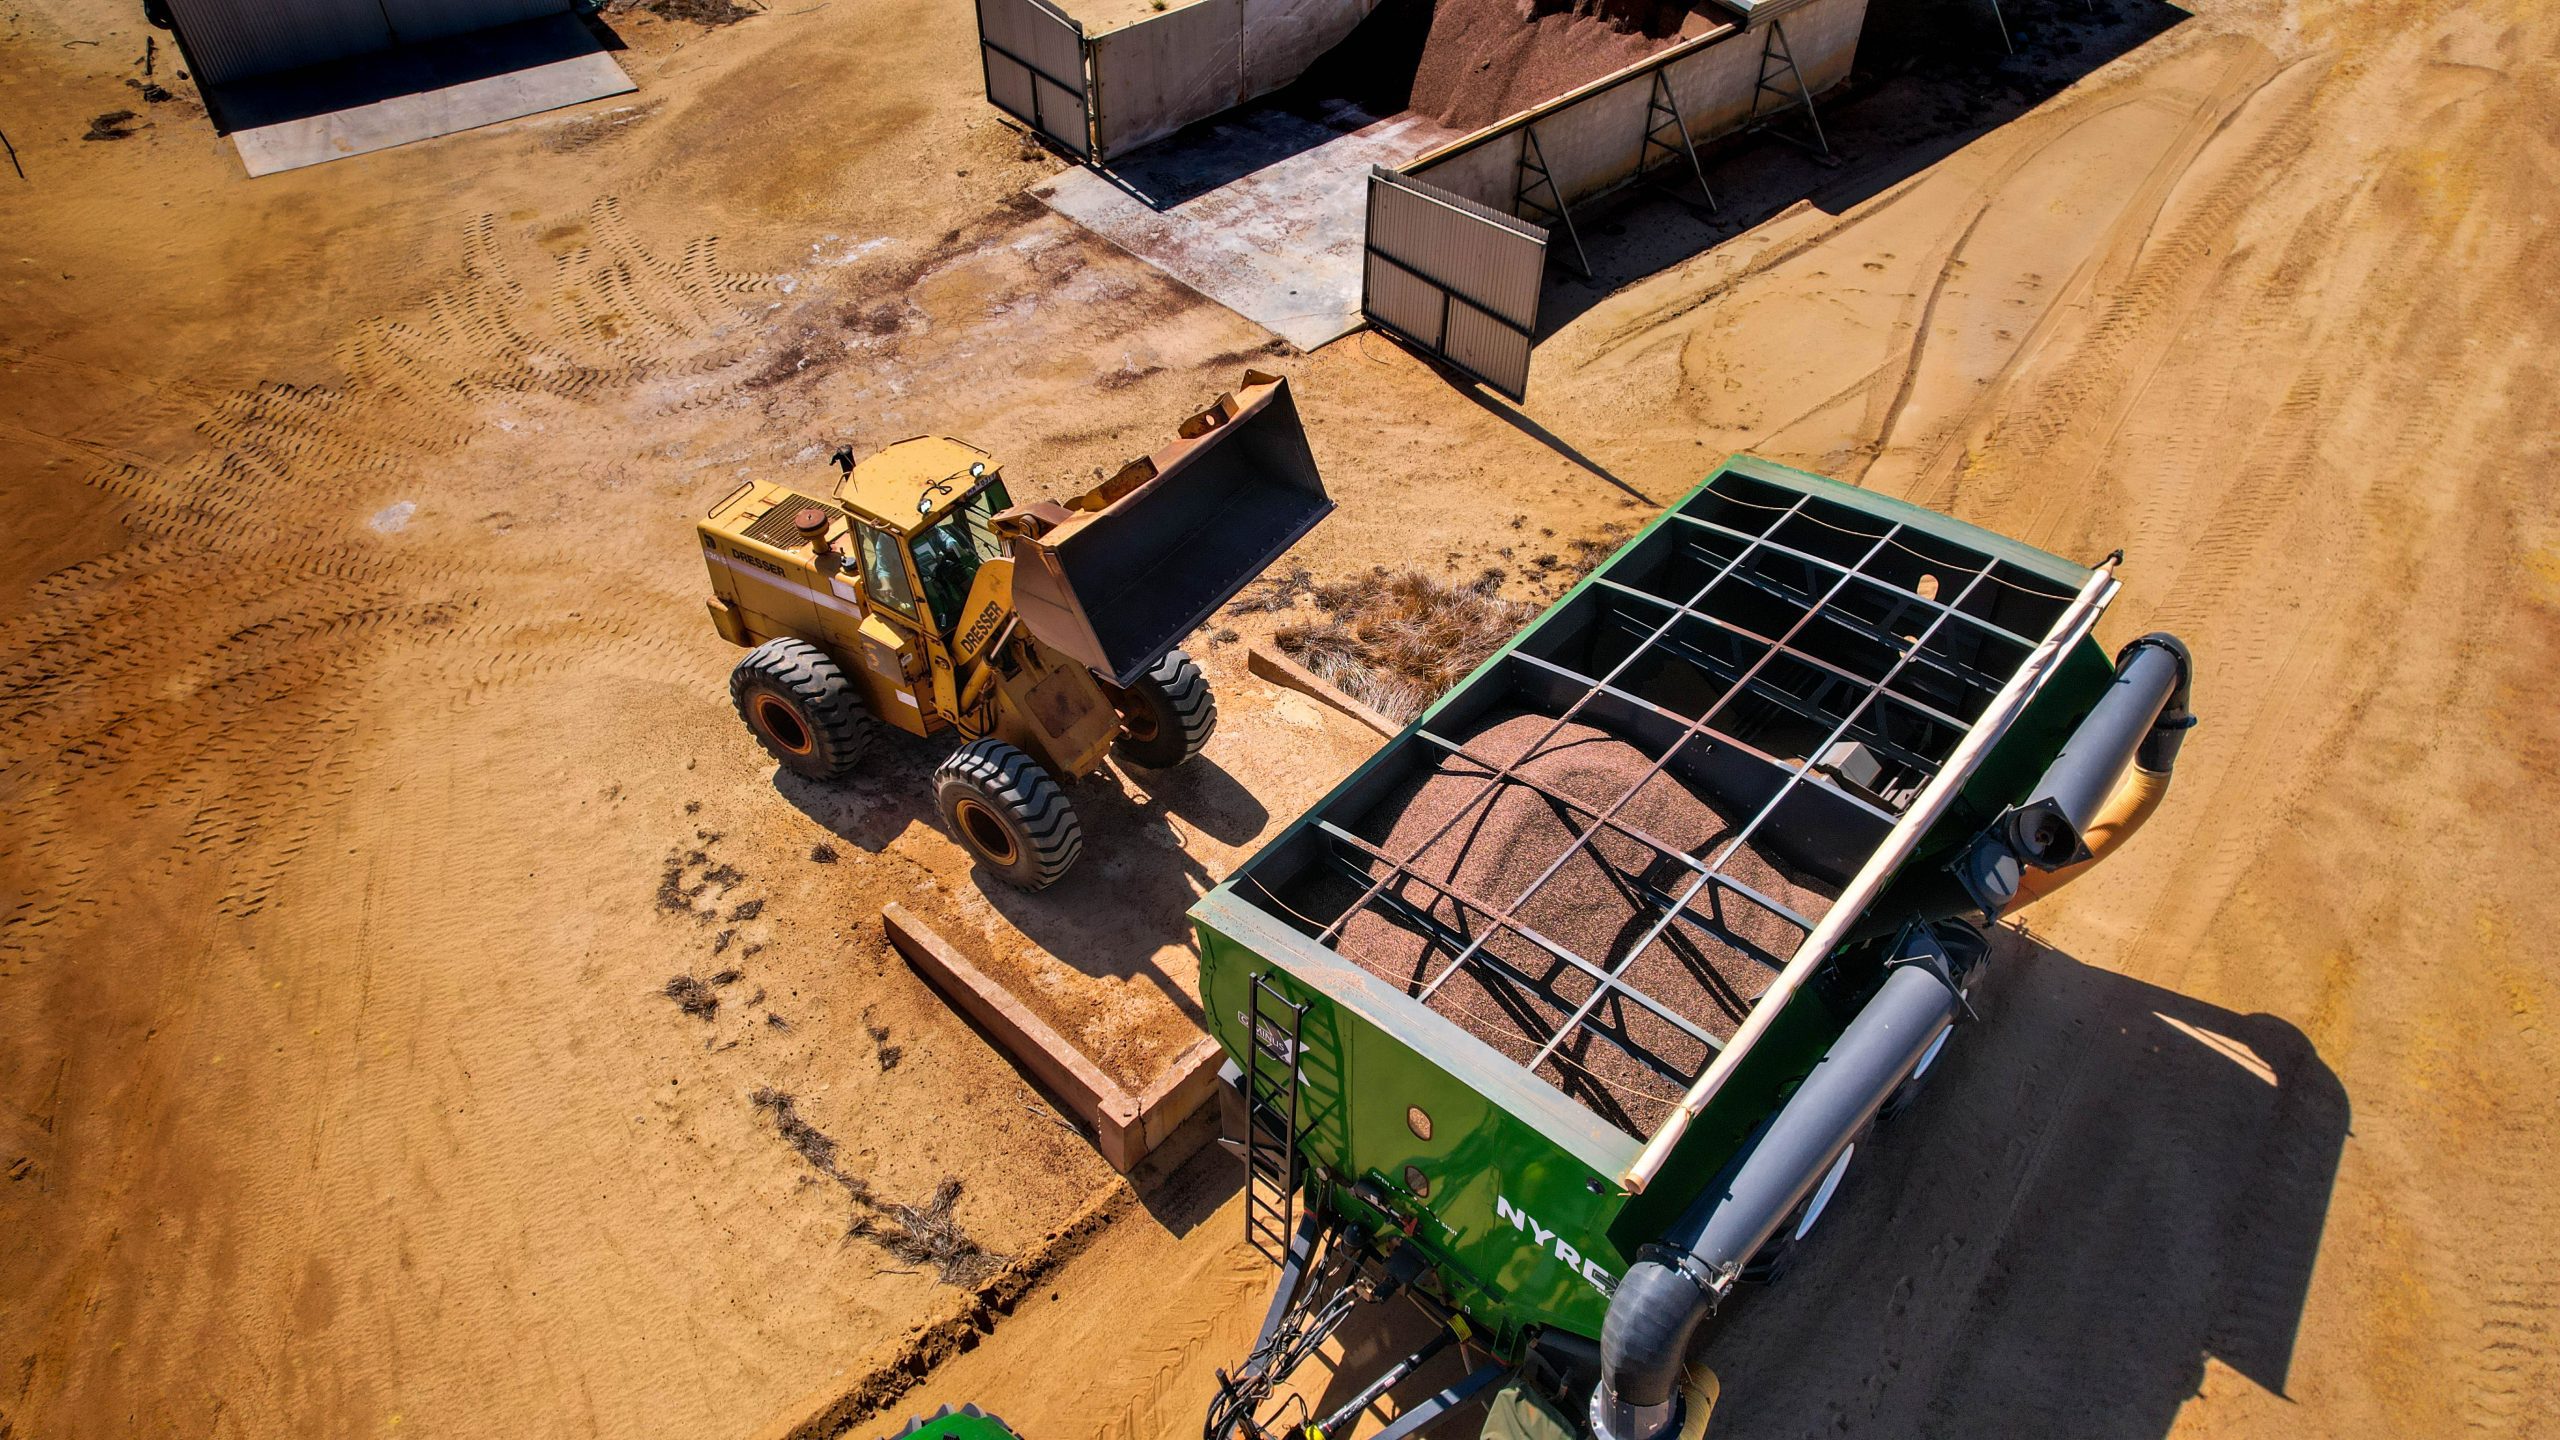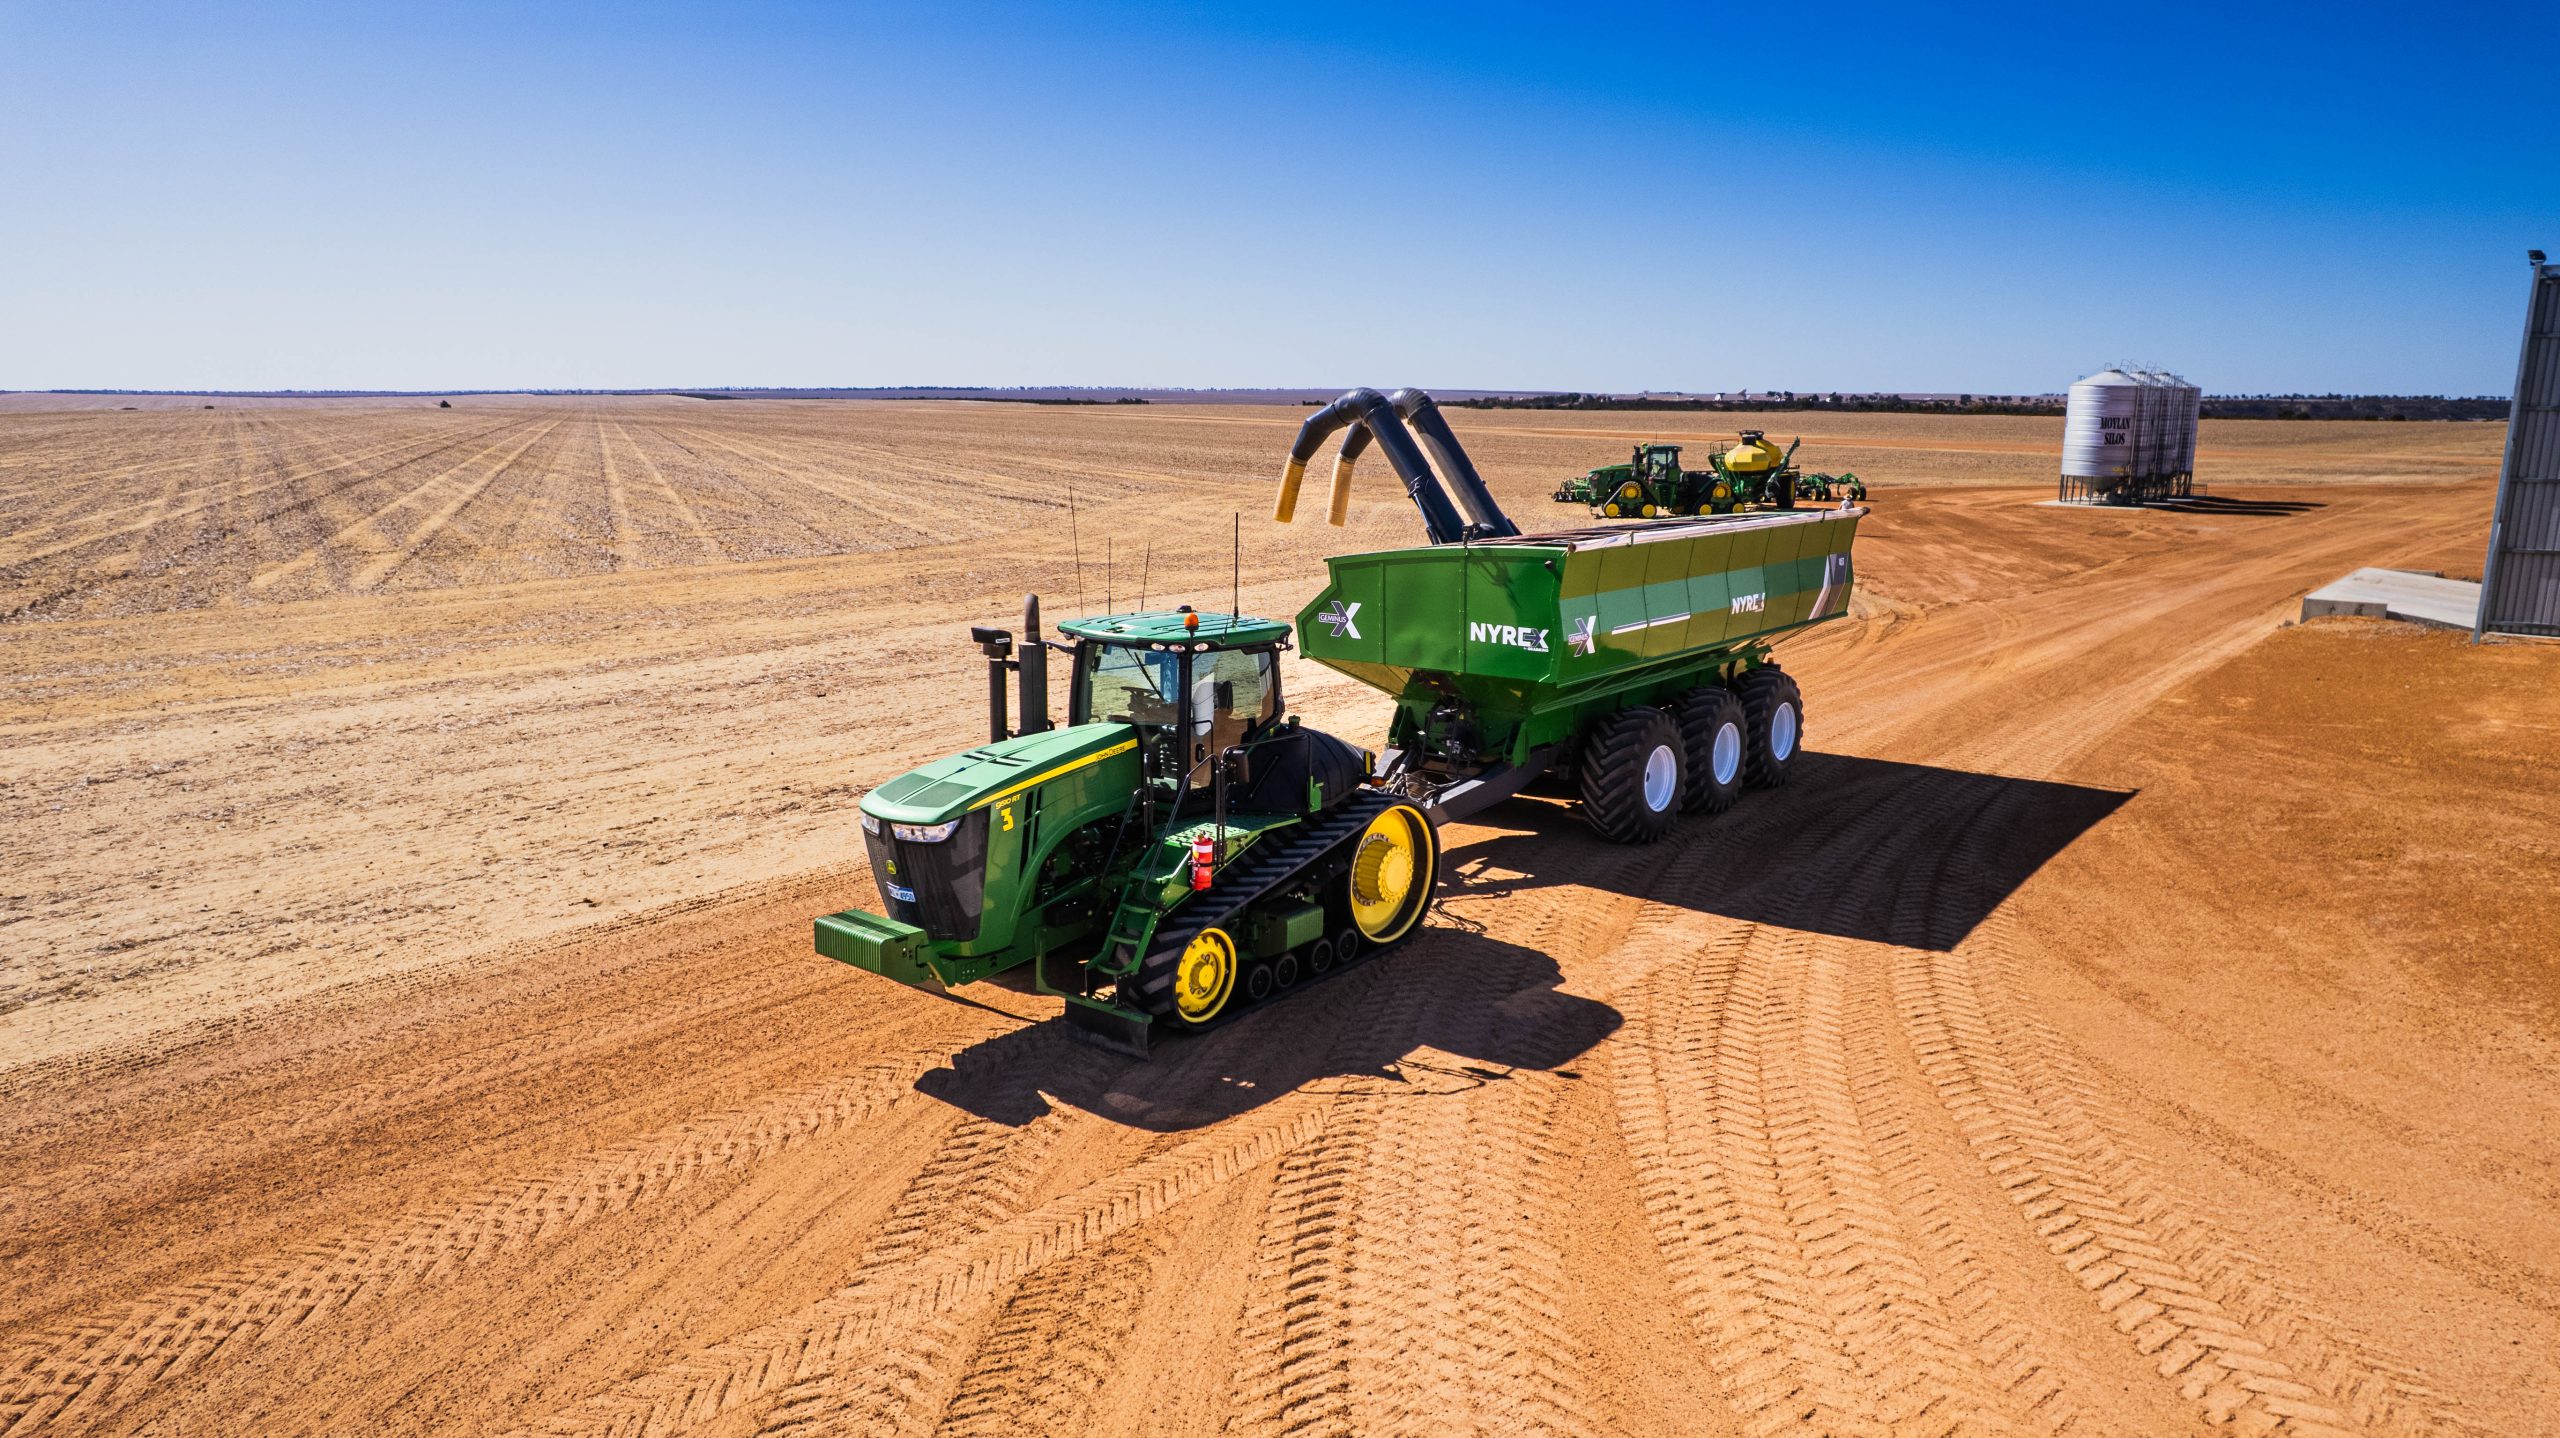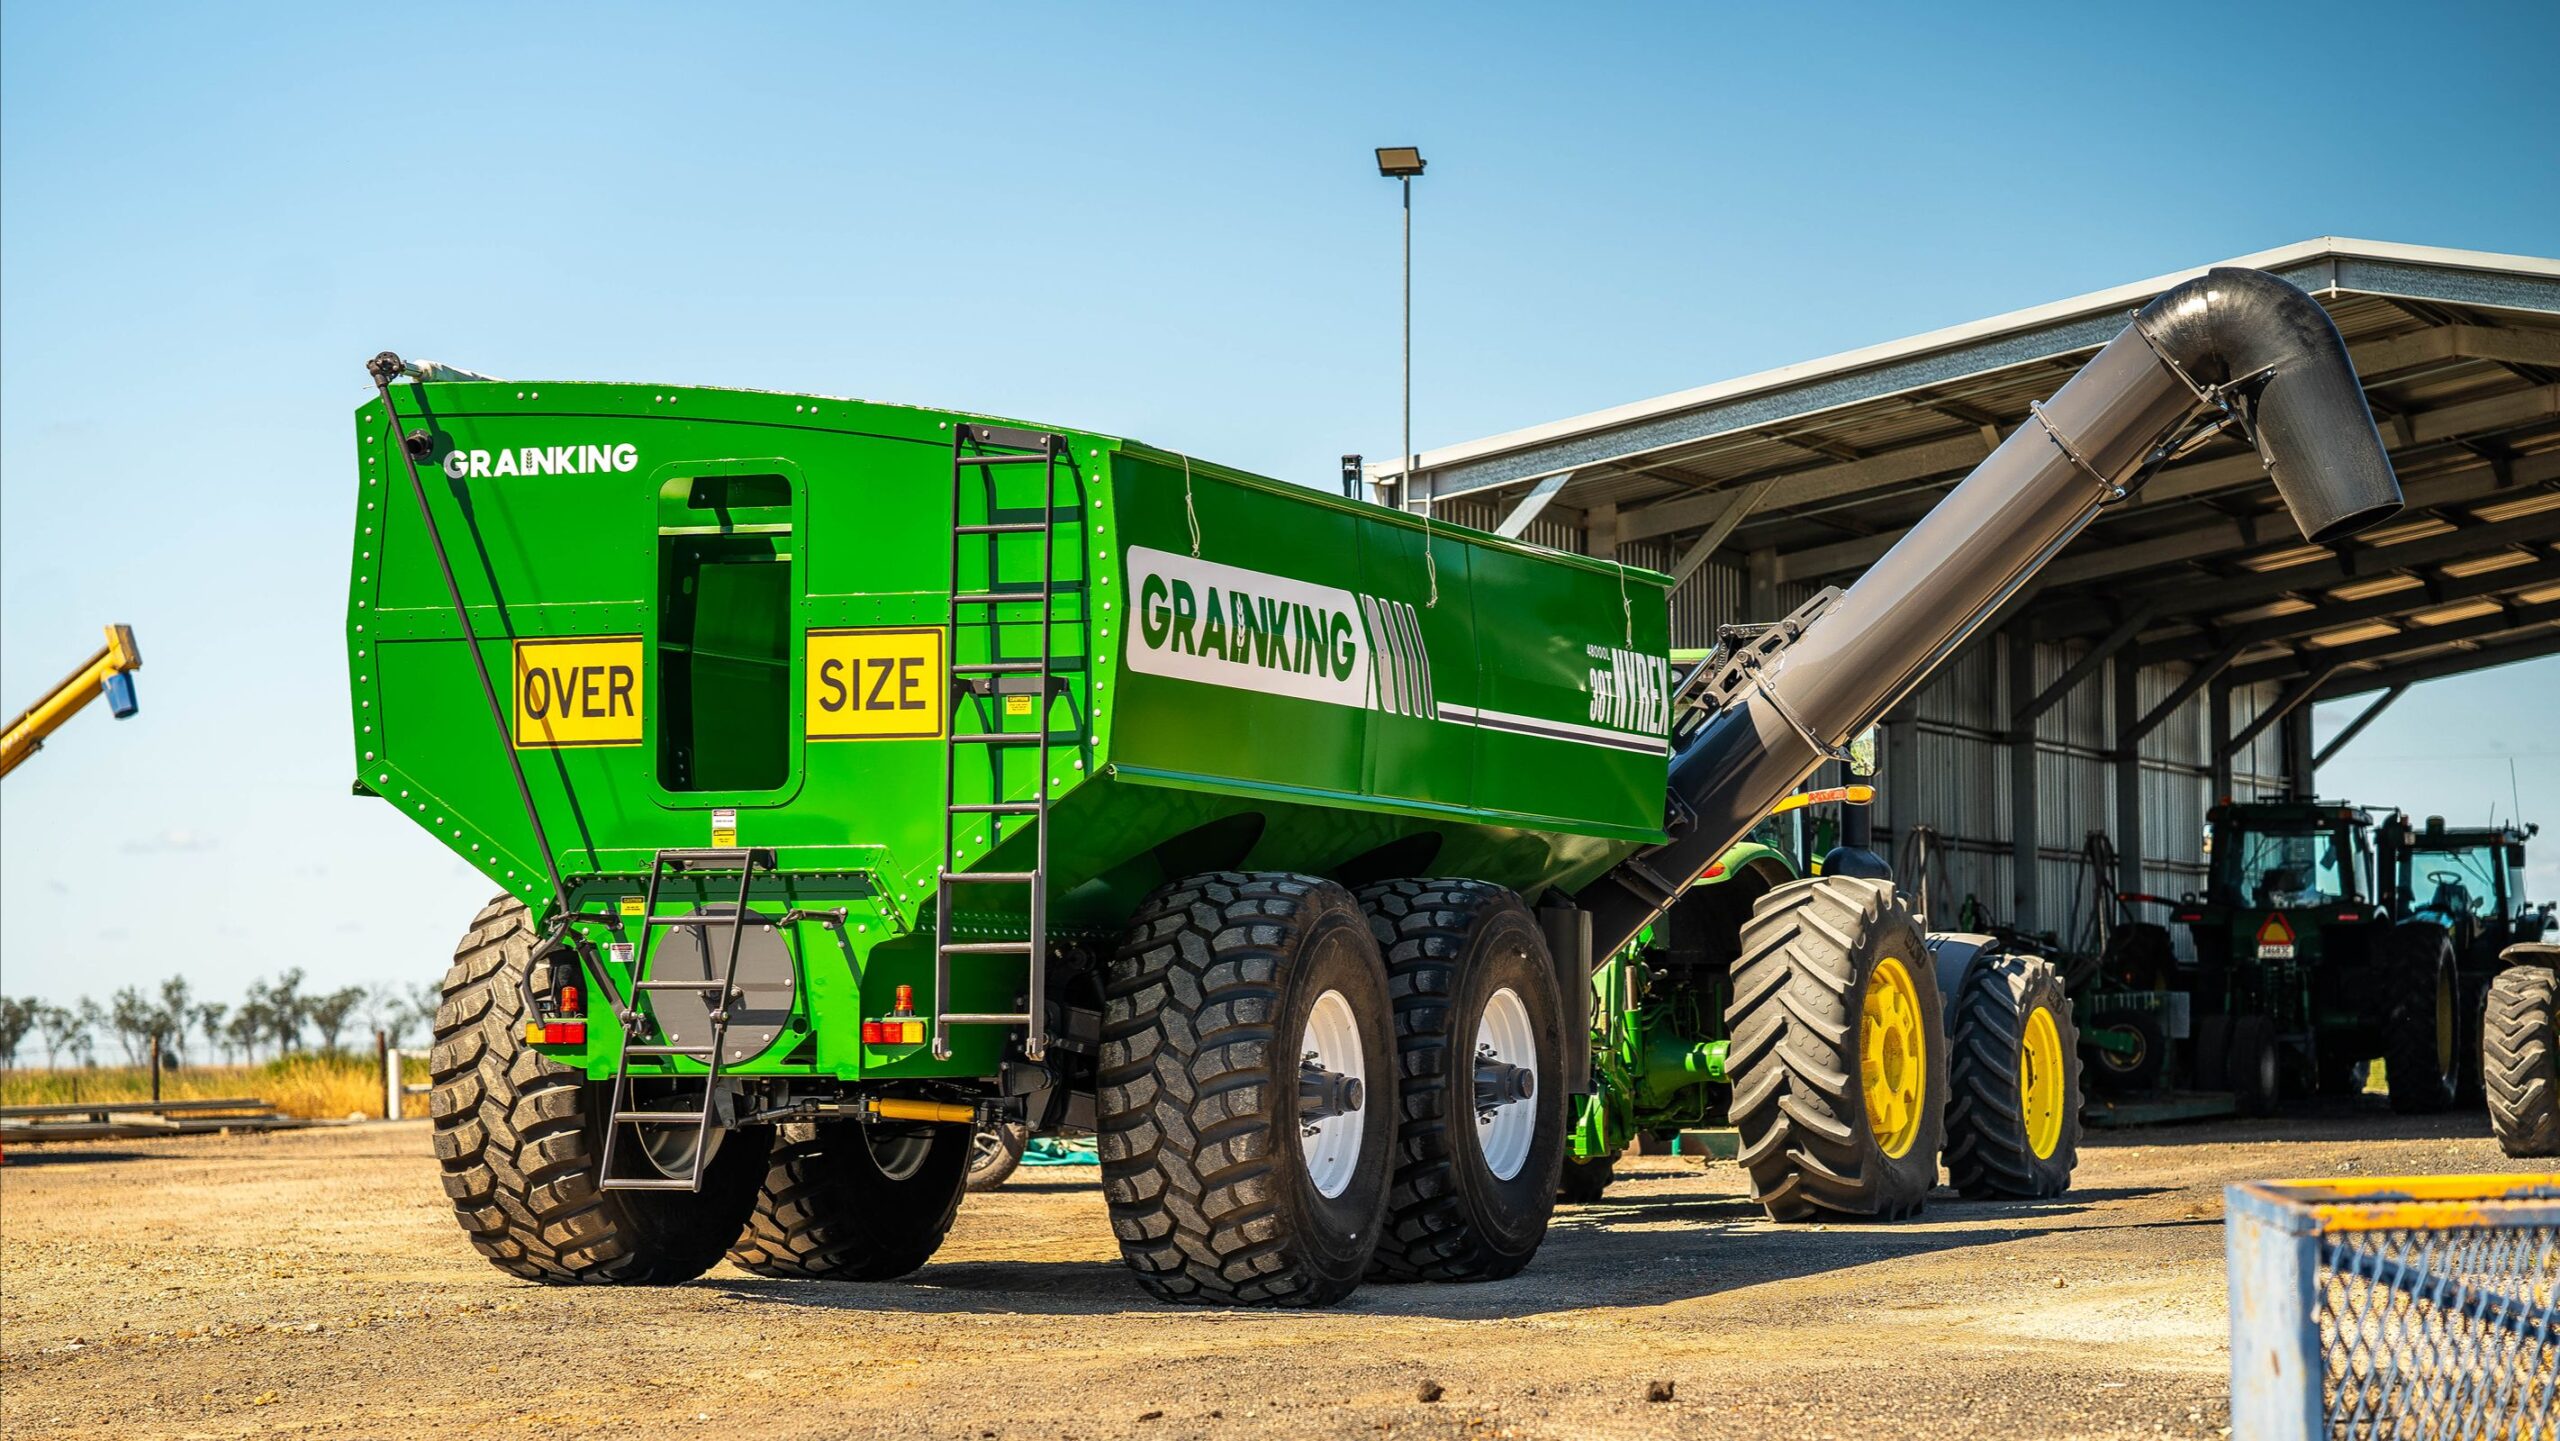
A contaminated load is one of the quietest ways to lose money at harvest.
It leaves no warning. You won’t see it in the paddock. You’ll only find out at the weighbridge when a sample knocks the whole load down a grade or quality control at your site turns it away.
It’s a frustrating pain, but the cause is usually simple and avoidable: leaving grain in the bin. When working with a chaser bin, you need to ensure that you’ve unloaded everything. This happens often because there are spots you don’t see from the top of your grain.
In this guide, we’ll tackle why cleaning out your grain cart is critical to an effective harvest in Australia. We’ll walk through everything, including where grain residue collects, when you need to clean, and a cleanout order that ensures the bin is properly emptied in 15 to 30 minutes once you know the traps.
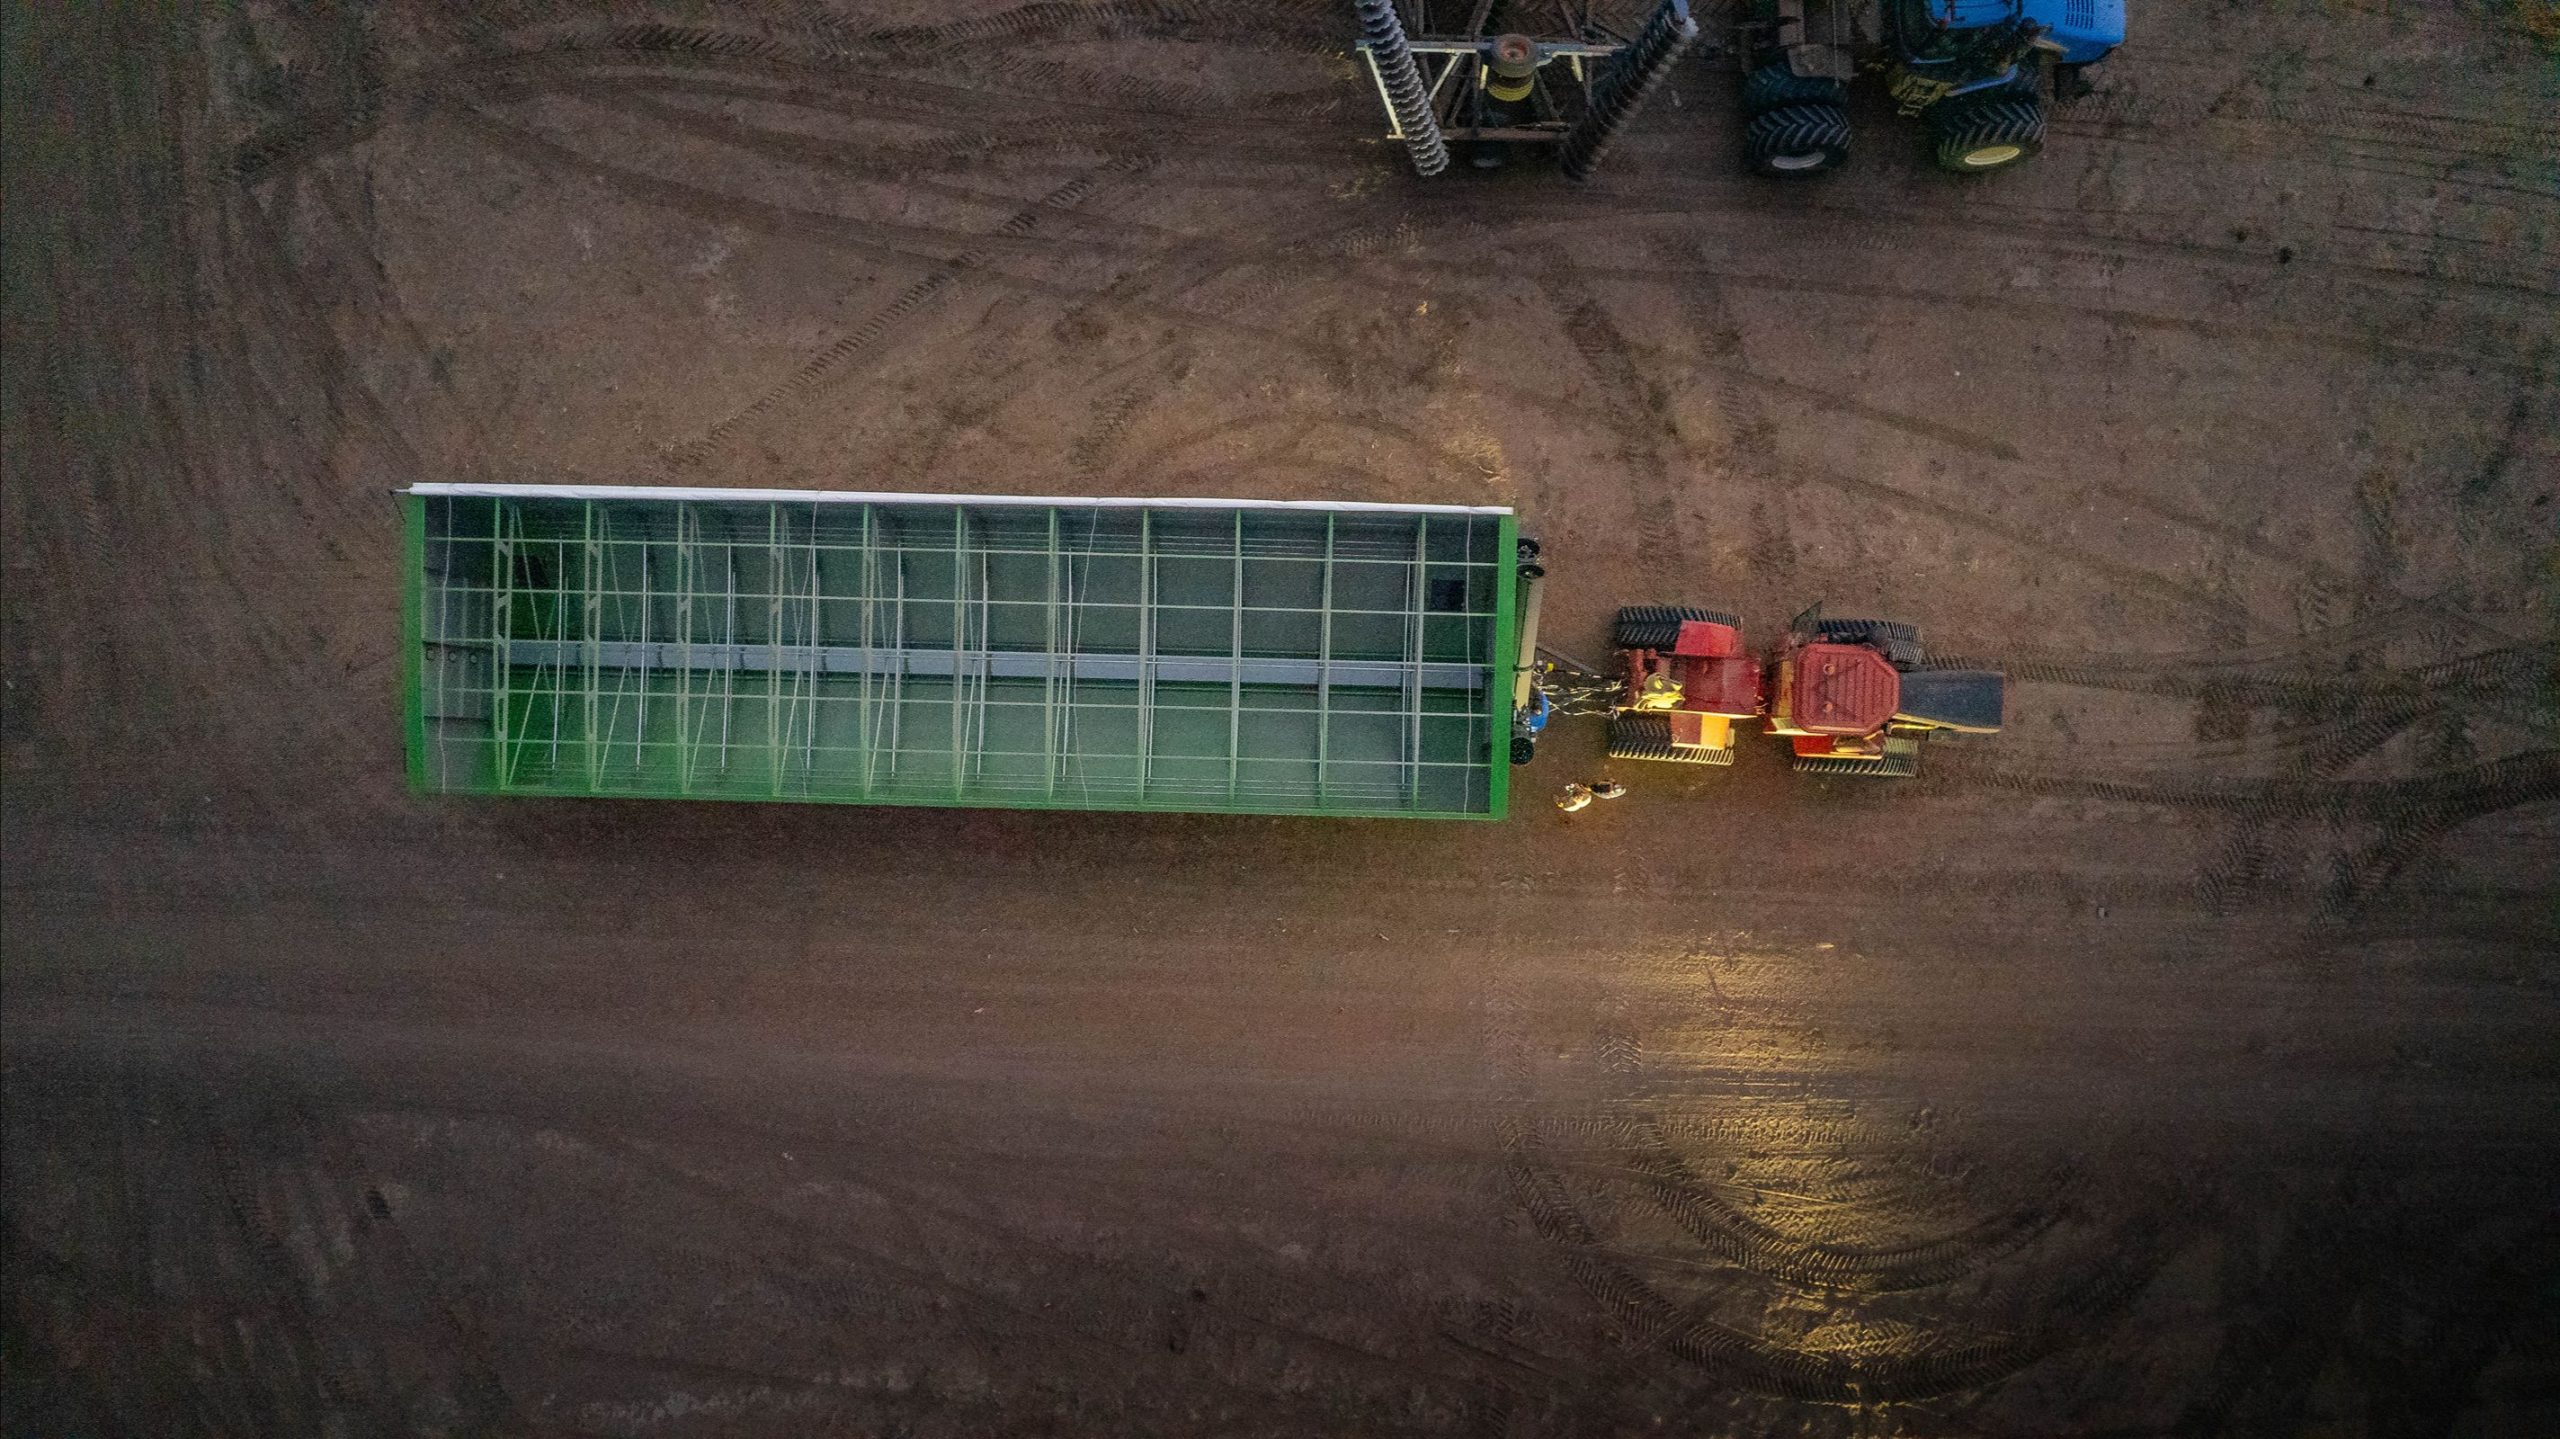
Why Grain Cart Cleanout Matters
A dirty bin costs you three ways: a contaminated load, a lower grade at delivery, and corrosion inside the machine. None of these are worth the risk if you run a professional operation.
Grain Contamination
A small amount of grain left from the last load is enough to disrupt your operations. Canola in a wheat load, feed barley in a malt line, treated seed in food-grade grain: it all starts inside the cart. And the bulk handlers test for it.
Grain Trade Australia sets the standards the sites work to, and the wheat trading standards list fertiliser, glass, metal and foreign seeds among the contaminants that make grain commercially unacceptable.
Grade
CBH, GrainCorp and Viterra all enforce contamination tolerances when you deliver grain. CBH publishes its receival standards every season. A load outside tolerance is knocked back or taken at a lower grade with a penalty per tonne. Either way, you wear the cost.
Machine
Any grain you have left sitting in the auger housings draws out moisture — and moisture starts corrosion on your auger flighting and seals.
When to Clean Out Your Grain Cart
You need a cleanout at four points throughout the harvest season. Knowing which ones can save you from cleaning when you don’t have to.
- Between different grain types. From wheat to canola, barley to wheat, any change of crop means a full cleanout before the next load goes in.
- Between varieties in the same crop. This one matters more than it looks. A mix that a crop change would never cause can downgrade malt barley, durum, and any variety-segregated delivery. If you run separate lines, treat a variety change like a crop change.
- End of season. Treat this as your deep clean. Before the bin goes in the shed, clear it right out so trapped grain can’t draw insects or hold moisture over summer.
- After treated, contaminated or off-spec grain. Clean before anything else goes near the bin. Seed treatments and chemical residues have no business near your next food-grade load. If there has been any use of fertilizer inside the bin, a full deep clean must be done including around any bearings to avoid corrosion.
Where Residue Builds Up Inside the Bin
Grain doesn’t sit evenly after you unload. It collects in areas where the bin shape changes and the flow slows down, and those areas are always the same once you know them.
The biggest trap is the horizontal to vertical auger transition. That’s the junction where grain moves off the floor auger and up into the vertical unloading auger. Grain packs into the bend and stays there through normal unloading. If you clean one spot properly, make it this one.
The other spots to watch:
- The auger hinge, where the fold-out auger pivots and grain sits in the housing gap.
- The floor auger trough, the lowest point in the body, where grain sits below the flight line and never discharges.
- The discharge door and chute, where grain cakes around the opening, worse in damp weather.
- Corners and welded seams, where the shape of the body creates dead spots.
- Horizontal areas, flat spots or internal housings where the grain can’t runoff naturally.
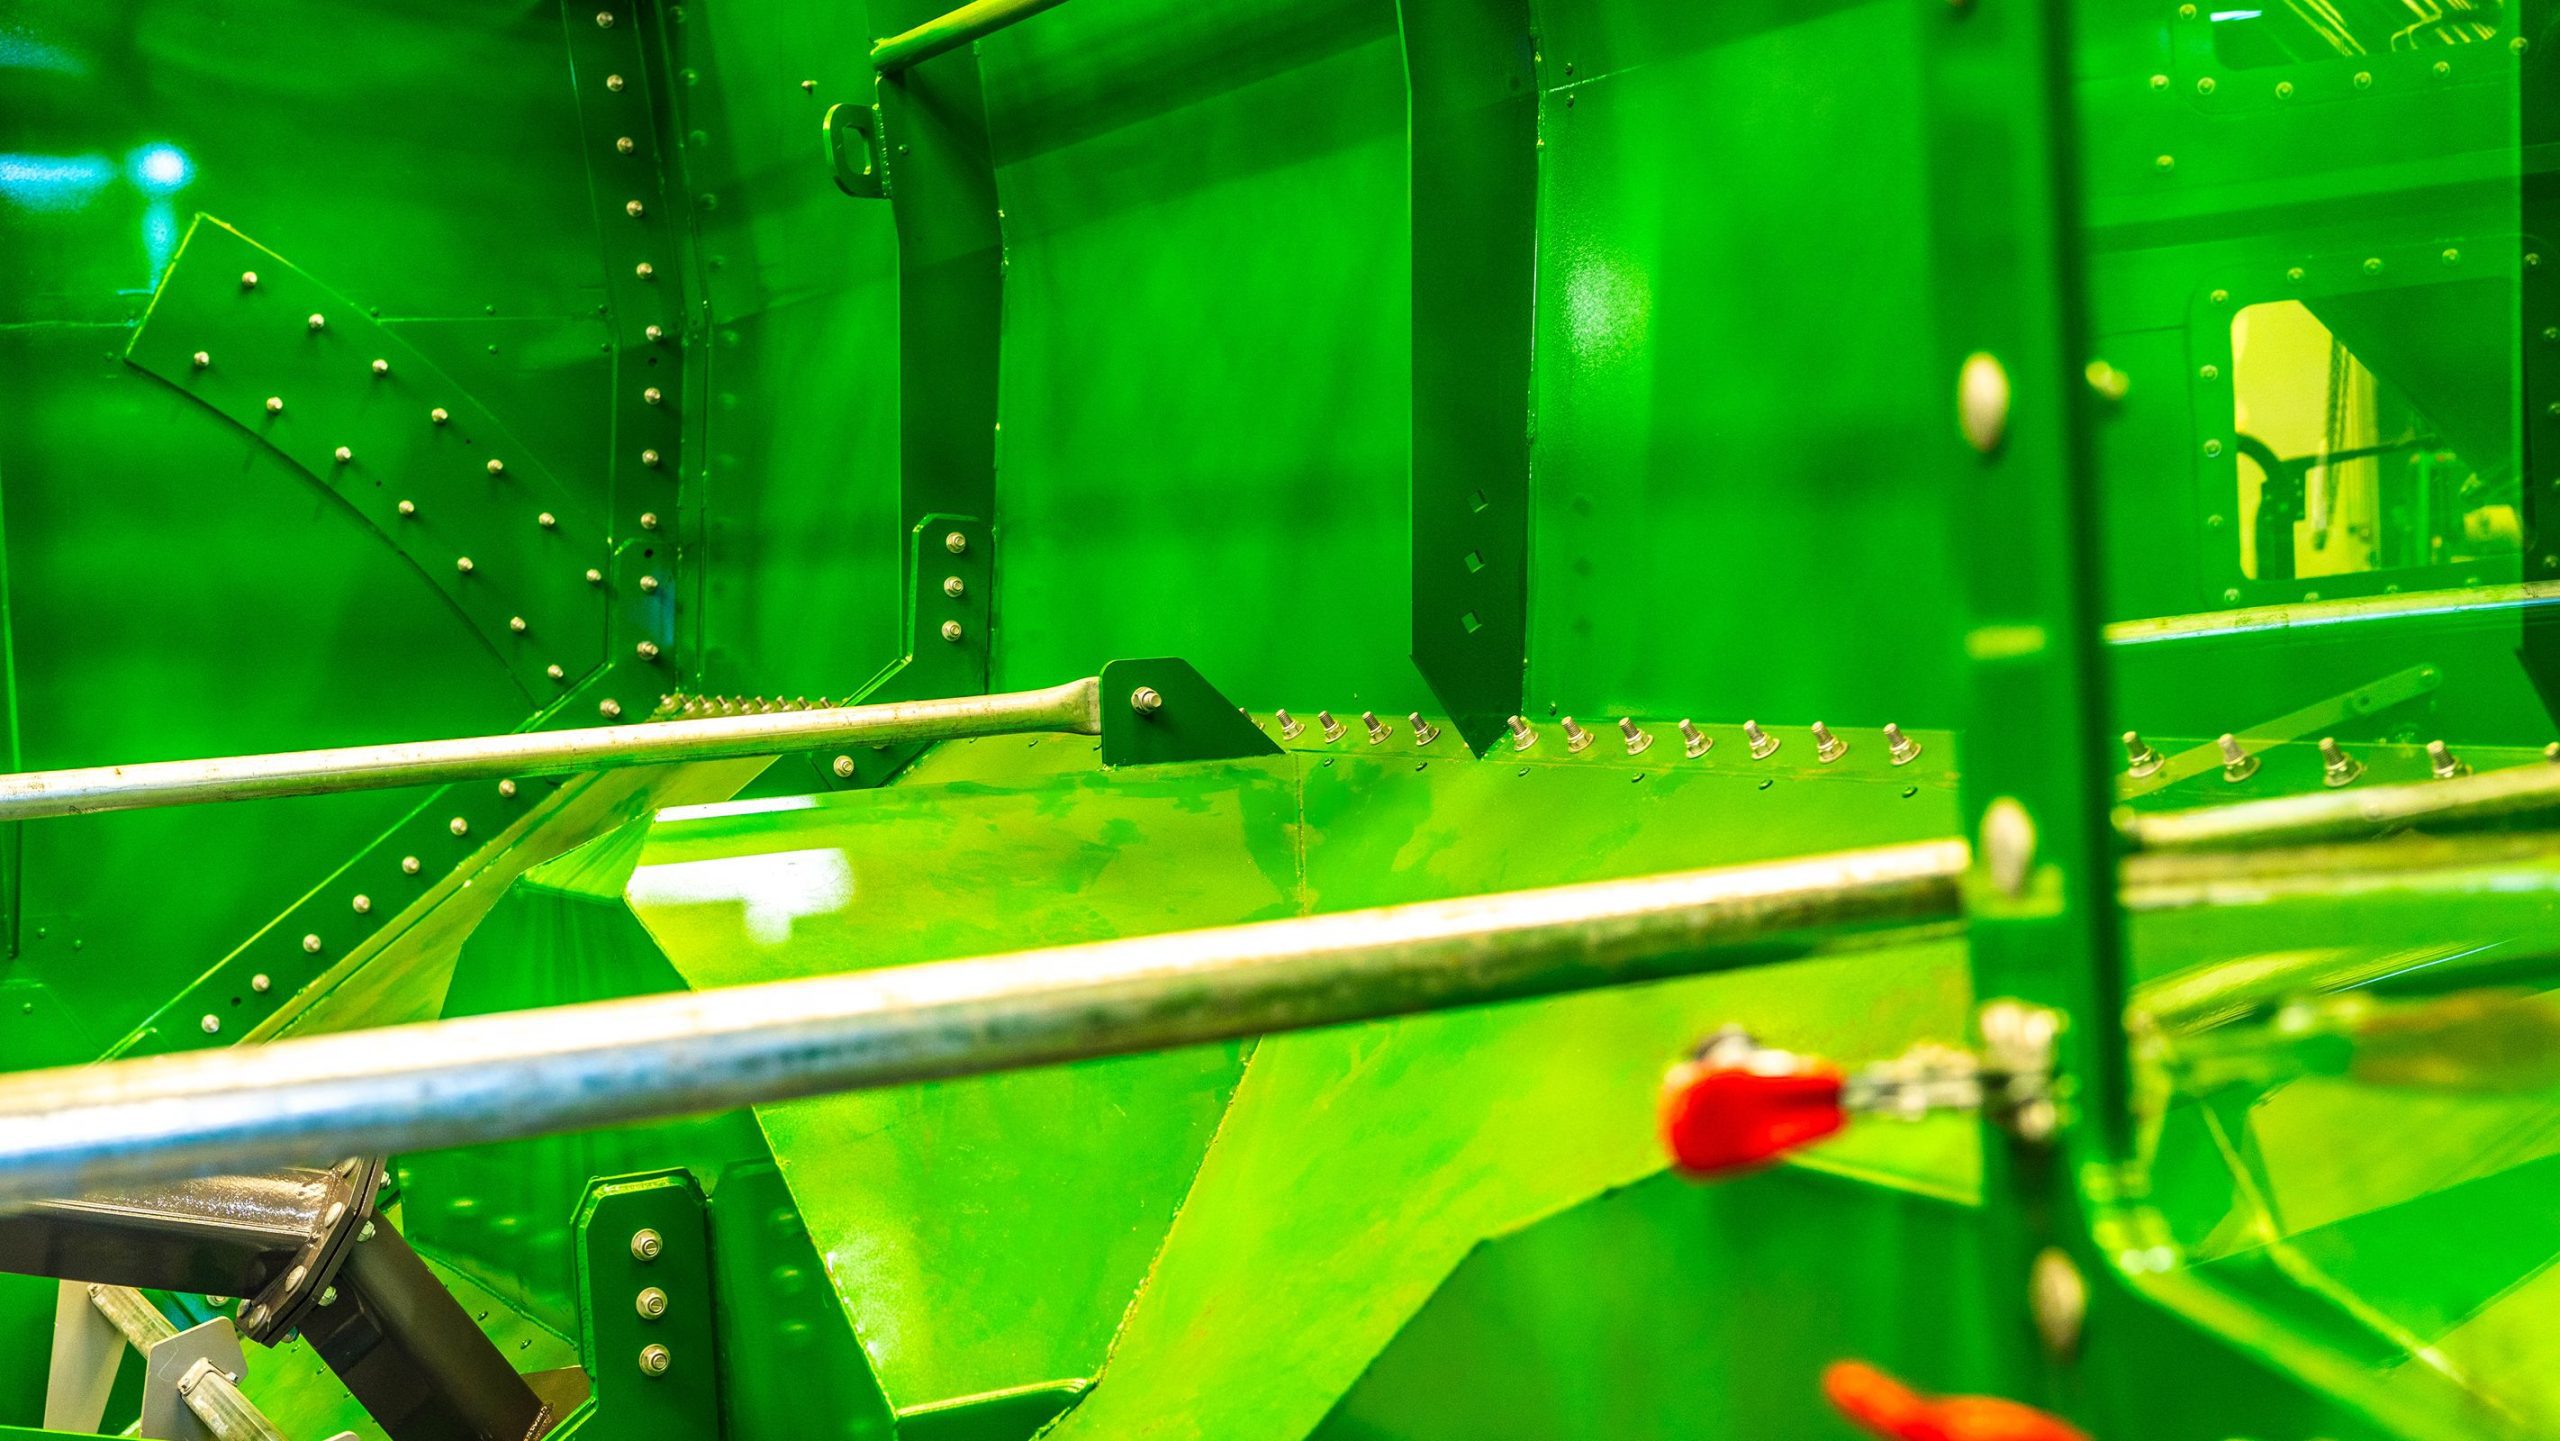
While inside the bin, check the seals and gaskets for tears or wear. A damaged seal lets grain into places you can’t easily reach later. A small tear you find now is a cheap fix next to one you find mid-harvest.
Step-by-Step Grain Cart Cleanout Procedure
Work top down, so anything you knock loose falls towards the floor auger, where you can clear it.
- Run the augers empty. Engage the PTO — the power take-off shaft that drives the auger off the tractor — and run it until it comes up dry. That clears the loose grain out of the body and flights.
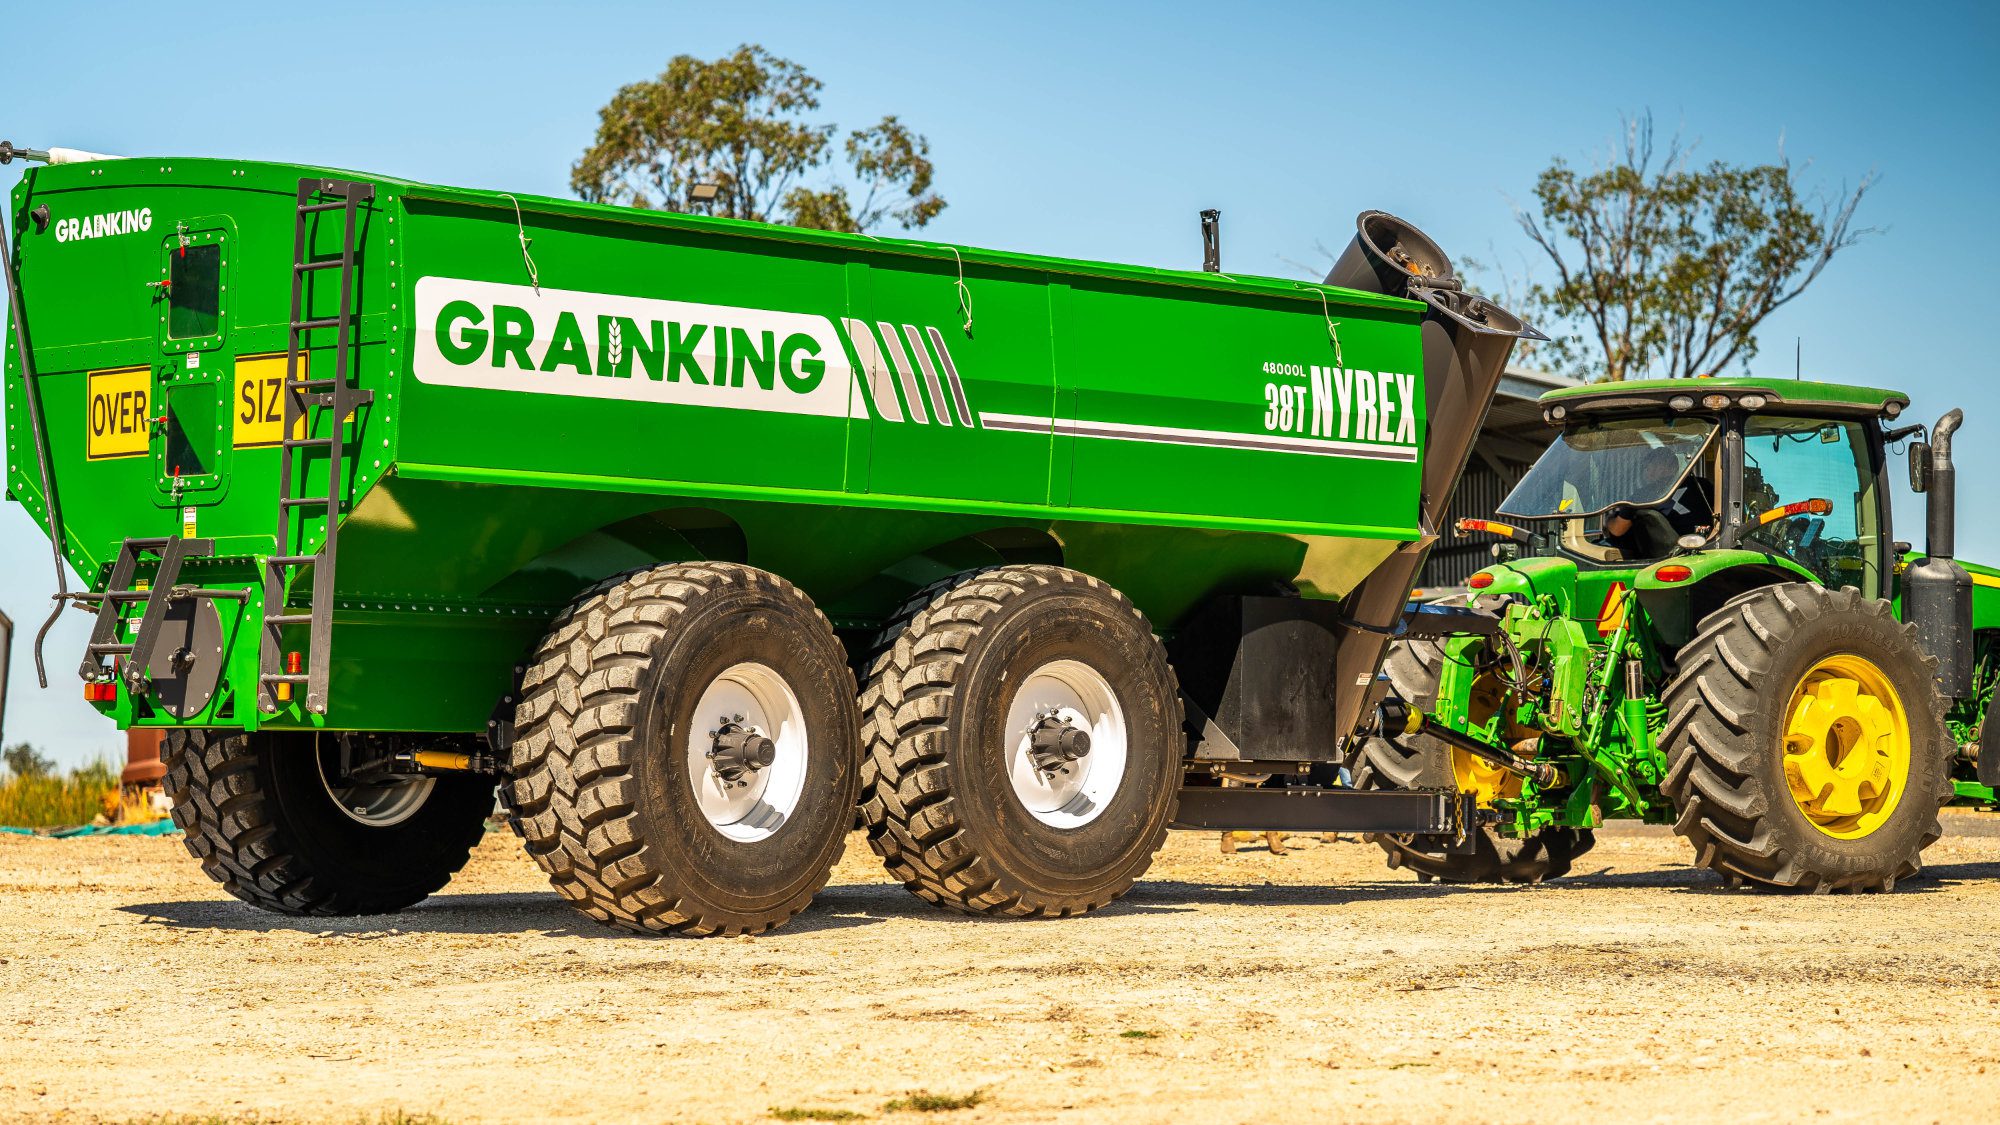
- Open every hatch and cleanout door. Modern chaser bins, like the GrainKing Nyrex range, are built with access points for this exact job.
- Blow out the transitions with compressed air. Start at the top and work down through the auger housings and corners so the grain falls towards the floor.
- Go manual on stubborn spots. A brush or scraper is used at the auger transition, the hinge, and any corner where grain has packed hard.
- Clear the tarp. Remove grain from the tarp rollers, tracks, and housing, and then run the tarp through a cycle to ensure it still seals properly.
- Inspect as you close up. Look over the seals, gaskets and auger flight edges for damage, and note anywhere grain is reaching that it shouldn’t.
- Close the hatches and run the auger briefly to check if it’s turning clean and empty.
The End-of-Season Grain Cart Deep Clean
The between-crops cleanout keeps your grain apart. The end-of-season clean protects the bin through the months it sits idle.
Run the steps above, then pay extra attention to the moisture-prone areas. Check for any trapped grain that could feed insects or rodents over the off-season. Even a handful in an auger housing is enough to start an infestation. It’s the same reason grain hygiene matters around silos: clearing out leftover grain removes the feed source and harbour for the pests.
Then treat the exposed metal, auger flights and bearing housings. Leave the hatches and cleanout doors open through dry storage so air moves through and condensation doesn’t build up inside. Finish with an external wash to take off the harvest dust, chemical residue and caked soil.
When the bin comes back into service next season, run our pre-harvest chaser bin maintenance checklist alongside it.
Common Mistakes During Grain Cart Cleanout
Most contamination events happen because of the same thing. You clean the main body and skip the transitions when the transitions are where the grain actually sits.
Watch out for these:
- Skipping the auger transition. It’s the single most common source of cross-contamination between grain types.
- Pressure washing the inside. Water in the bin body creates moisture pockets that rust the steel and spoil grain. Use compressed air, not a hose.
- Not inspecting while you’re in there. Cleanout is the one time the bin is open and empty. Don’t waste the chance to check your flights, seals and gaskets.
- Rushing between grain types. A 15-minute cleanout is cheap next to a contamination event worth thousands in downgraded grain.
Common Questions About Grain Cart Cleanout
How long does it take to clean out a grain cart?
For different grain types, it takes 15 to 30 minutes once you know where the residue is located. Your first few take longer while you learn the traps in your bin. An end-of-season deep clean takes longer again because you’re greasing, inspecting and washing down as well.
Can you pressure wash a chaser bin?
Only pressure wash inside the bin body if the bin is not going to be in use. There must be time allowed for the water to evaporate. Water creates moisture pockets that cause rust and spoil grain. Use compressed air for the inside and keep pressure washing for external surfaces only.
How do you stop grain contamination between loads?
Run the augers empty, clear the auger transitions and floor trough, and use the cleanout doors when you switch crops or varieties. The transitions are where carryover hides, so that’s your priority every time.
Does GrainKing design Nyrex chaser bins with cleanout in mind?
Yes. Nyrex bins are built with inspection hatches and cleanout access at the housings and transitions, so you can actually reach the traps. Talk to a dealer to walk through the access points on a specific model.
What Australian receival standards apply to grain contamination?
CBH, GrainCorp and Viterra each enforce contamination tolerances at delivery, based on the standards set by Grain Trade Australia. A contaminated load is knocked back or taken at a lower grade. Check the current standards with your delivery site before harvest.
Talk to the GrainKing Team
Cleanout is faster when the access points are already built in. The Nyrex range chaser bin is designed with cleanout access at the points that matter, from a manufacturer that’s built chaser bins for Australian conditions since 1962.